
At a Glance: Homegrown Wheat
- Homegrown wheat needs a sunny, well-drained plot and little care once it’s up.
- 70 pounds of flour a year needs 1,000 square feet in a good year.
- Cutting and threshing are the real work, so plan a free weekend for harvest.
You don’t need a farm to grow your own wheat. With the right seed and a small plot, you can raise a grain crop that feeds your household and stores dry for months. Homegrown wheat puts you in charge of your pantry. It backs up your baking with flour you grew yourself.
This guide walks through how to grow, harvest and mill wheat from your own land, step by step.
As an Amazon Associate, we earn from qualifying purchases.
Choose a Wheat Type That Matches Your Climate
Wheat comes in two seasonal types: spring and winter. Pick the season your winters allow, then pick hard or soft by what you like to bake.
- Winter wheat is planted in the fall and harvested in early summer. It needs a stretch of near-freezing weather over winter before it forms heads, as SDSU Extension explains. It suits areas where winters get cold enough to chill the young plants without killing them.
- Spring wheat is planted in early spring and harvested later in the year. It’s better for cold regions with harsh winters.
Hard wheat has more protein, which helps bread rise and hold its shape. Soft wheat has less protein and makes a tender crumb, so it’s better for pancakes and pastries that don’t need strong gluten.
Pick Your Mill Before Harvest
Your grain needs a mill at the end, and it’s easier to choose one now than in July with a bucket of berries waiting. A hand-crank mill costs less and works without electricity. An electric mill is quicker if you bake every week.
What You Need
You don’t need farm equipment for a backyard patch. Most of this is already in the shed.
Tools and supplies:
- Wheat seed. Hard red or hard white for bread, soft white for pastry.
- A rake and a flat board to firm the soil.
- Hand pruners, a sickle or a scythe for cutting.
- Twine for tying bundles.
- A tarp, two buckets and a box fan for threshing and winnowing.
- A grain mill and a container with a tight lid.
You can buy small-scale seed packs from True Leaf Market or Johnny’s Selected Seeds, both of which carry varieties for home growers.
Plain wheat berries sold for cooking will often sprout too, but there’s no guarantee. Test them first: lay 10 berries on a damp paper towel, keep it moist for a few days, and count how many sprout before you plant a whole bed.
How to Plant and Grow Homegrown Wheat
Start by loosening the soil. Clear the space of weeds and add compost if the ground feels dry or compacted.
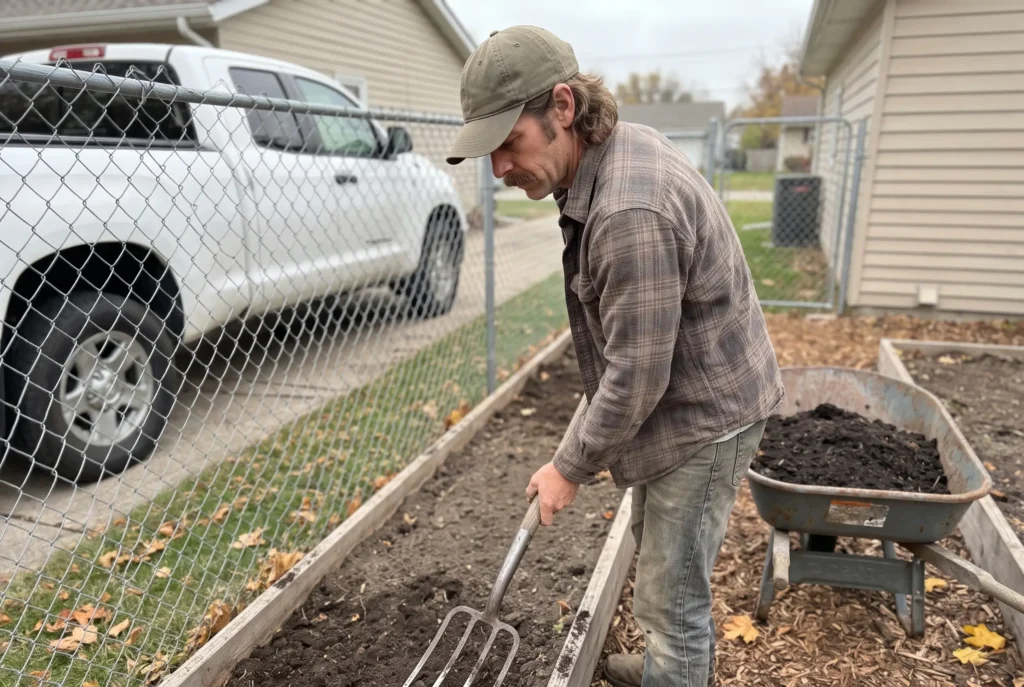
- Spread wheat seed across the plot. Aim for even coverage, about 22 seeds per square foot.
- Rake the seed in so it sits about 1 1/2 to 2 inches deep. That’s the depth and seeding rate SDSU Extension gives for winter wheat. Deeper seed comes up slow and weak.
- Press the ground with your feet or a board so the seed touches soil.
- Water gently and wait for sprouts to appear.
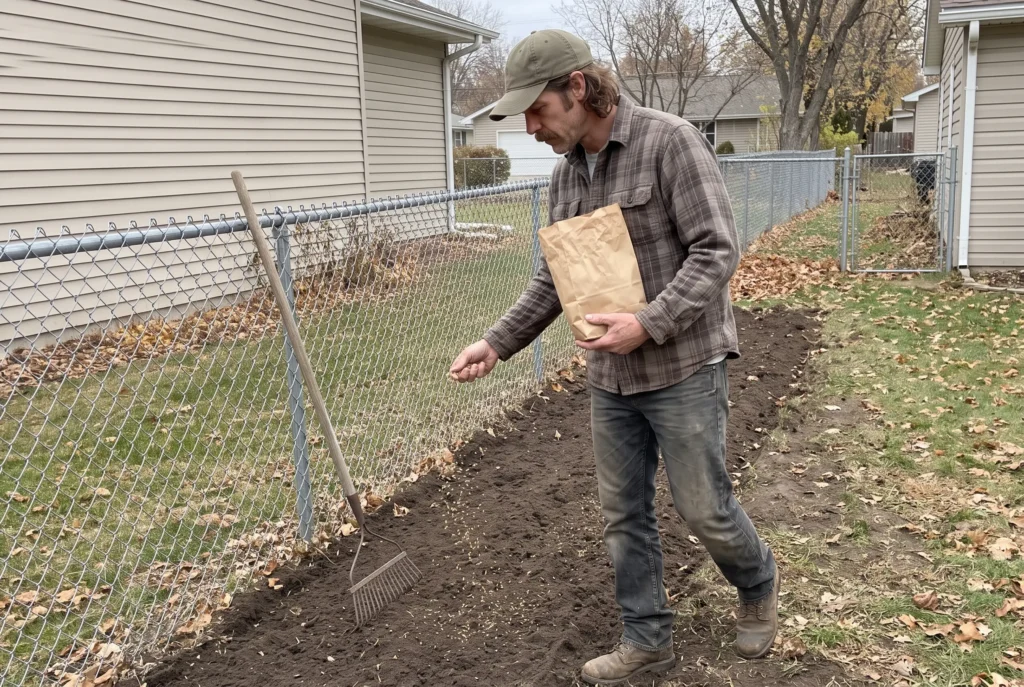
Like any other plant, wheat needs sunlight and good drainage. After sprouting, it grows without much care. Keep the area weeded and don’t walk across it once stems start to thicken.
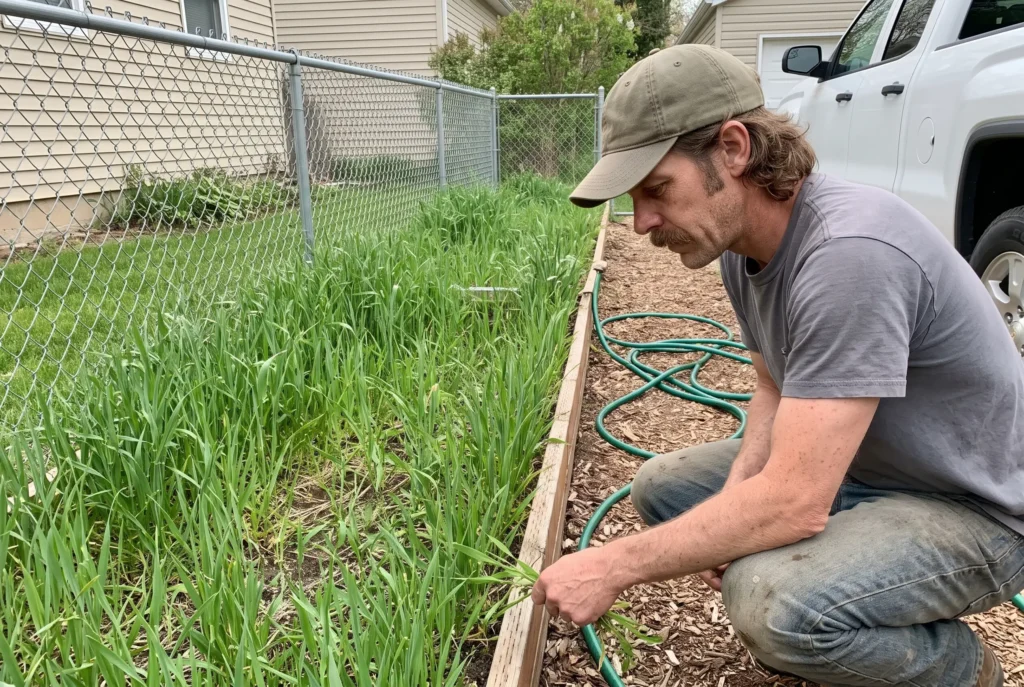
Spring wheat is ready a few months after planting. Winter wheat sits through the cold months and ripens in early summer. Either way, the stalks turn golden when the grain is close.
When and How to Harvest Wheat
Check the heads once they’ve turned dry and brittle.
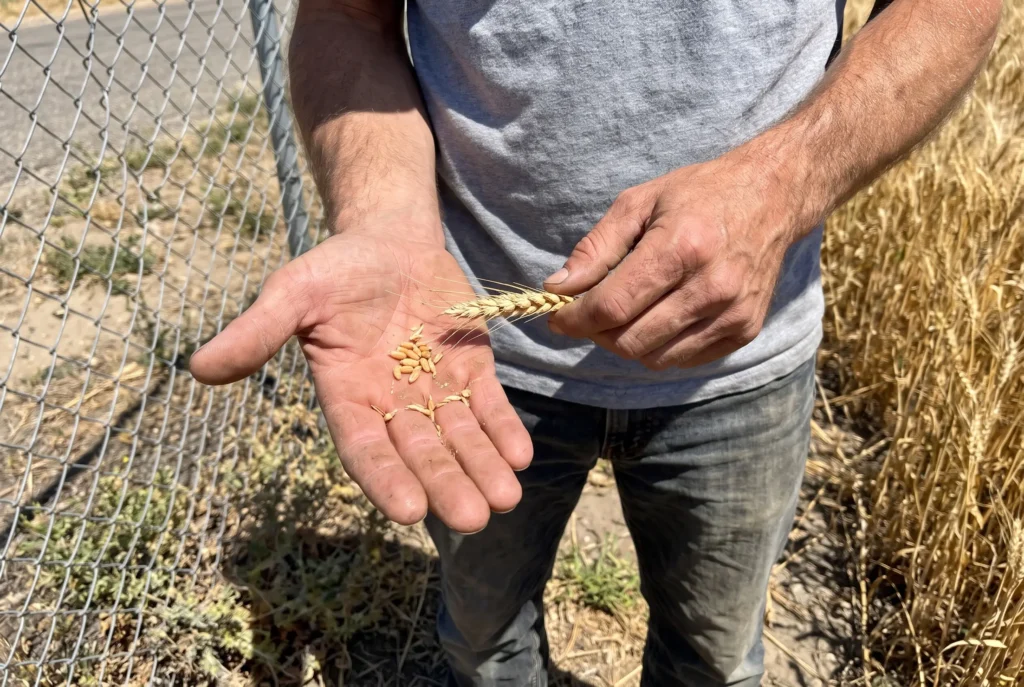
CHECKPOINT: Bite a kernel. If it’s soft or chalky, wait a few more days. If it’s firm and breaks cleanly, you’re ready to cut.
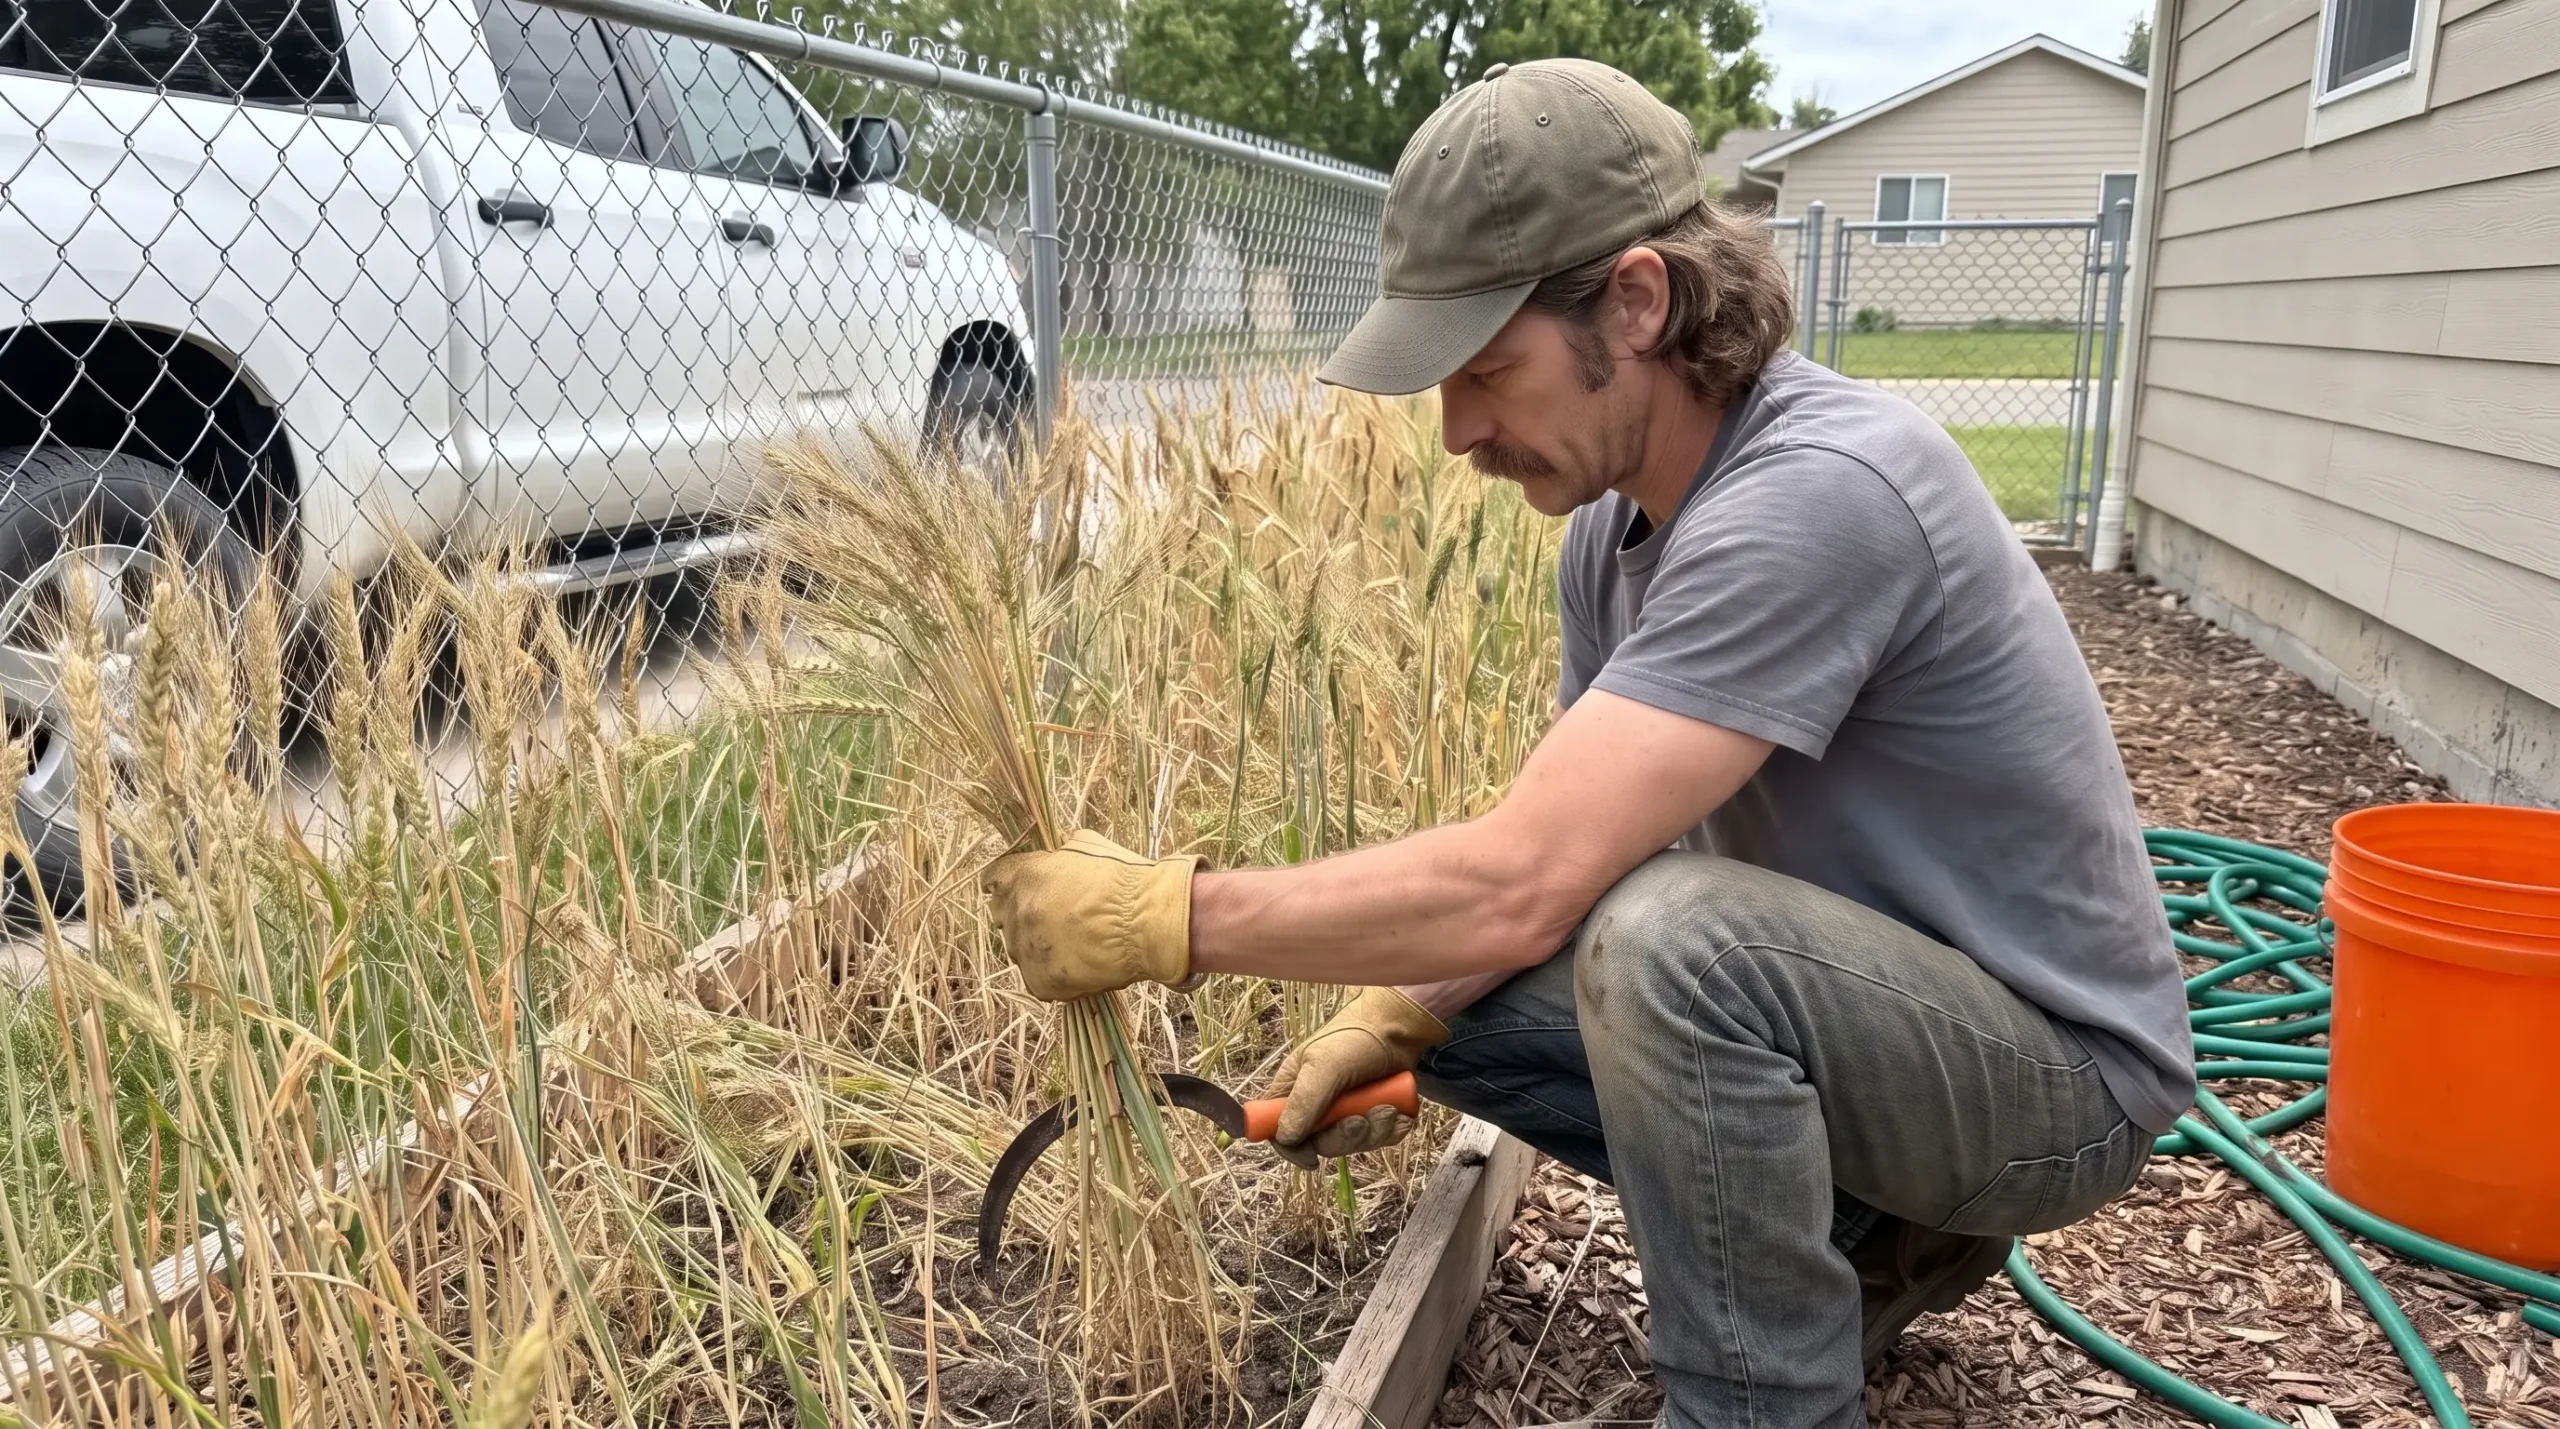
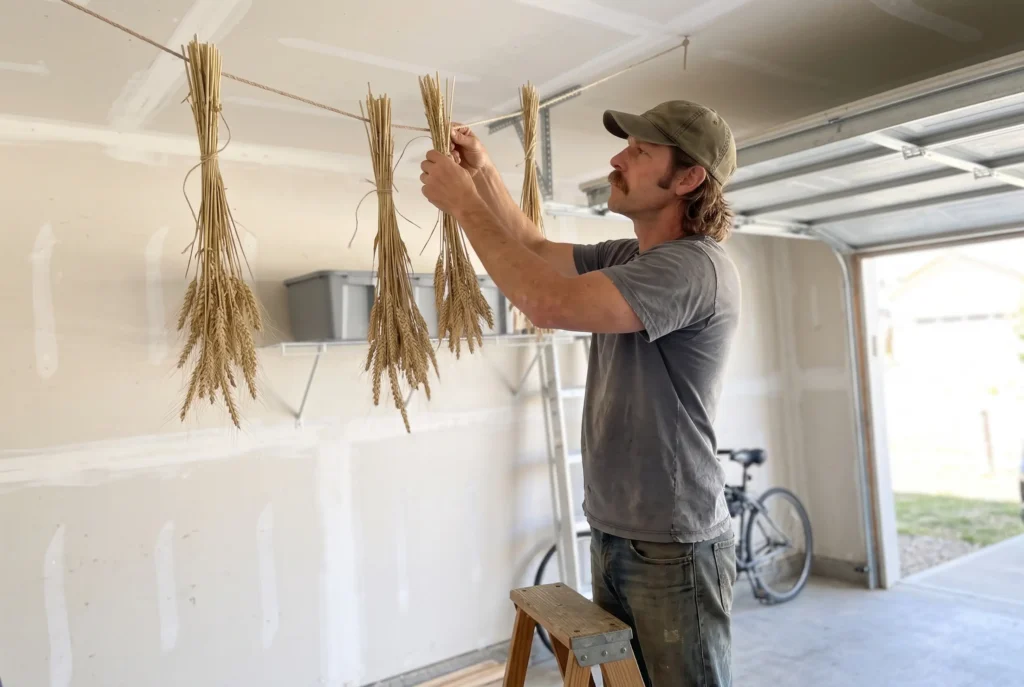
Use hand pruners, a sickle or a scythe to gather the stems. Wear gloves and keep your free hand behind the blade, since a sickle pulls toward you. Tie the stalks into bundles and hang them in a dry, airy spot. Leave them to cure for one to two weeks before threshing.
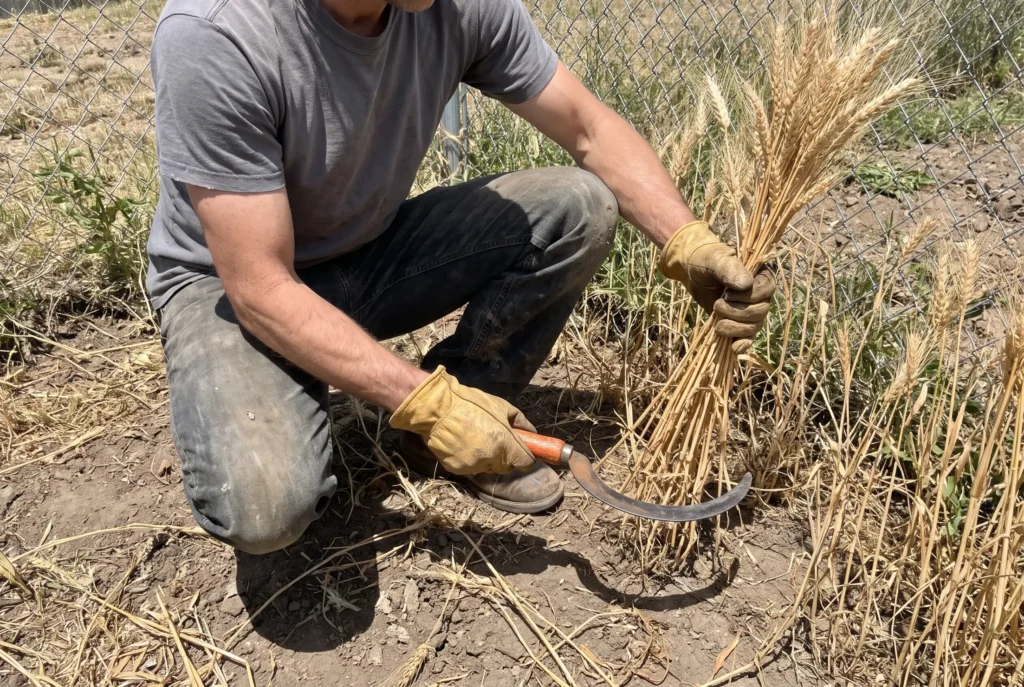
Keep an eye on the forecast once the heads turn. Rain, fog or damp air on ripe wheat can make kernels start to sprout right on the stalk, as MSU Extension explains. Cut as soon as the grain passes the bite test, and finish drying it under cover.
As an Amazon Associate, we earn from qualifying purchases.
For a small patch, a curved hand sickle does the cutting. This one has a curved carbon steel blade and measures about 17 inches overall.

- Excellent tools for garden work and pasture tidying:Perfect for harvest, farming, gardening, weeding sickle billhook machete.
- Multi-Use:Can be used for Cutting Trees, thickets, vines,weeds, edging lawns and Harvest.
- Ergonomic Sickle, Super lightweight,Sharpened blade has great tensile stregth for more cutting power,You can maximize the force.
Threshing and Winnowing Your Wheat
Threshing breaks the kernels loose from the husk. Here are two ways to do it:
- Lay the stalks on a tarp and walk across them until the grain separates.
- Place stalks in a bin and beat them with a broom handle or stick.
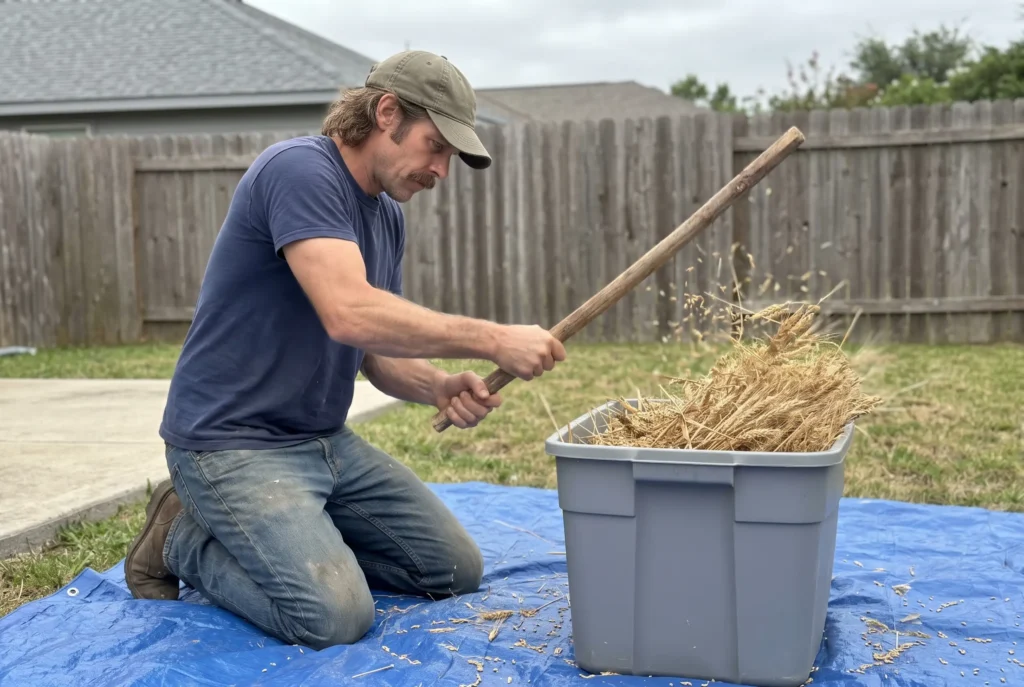
Winnowing removes the chaff. Pour the grain between two buckets in front of a box fan. The air carries off the light husk and leaves clean grain behind. Pick out any small stones before milling, since a stone can damage a mill.
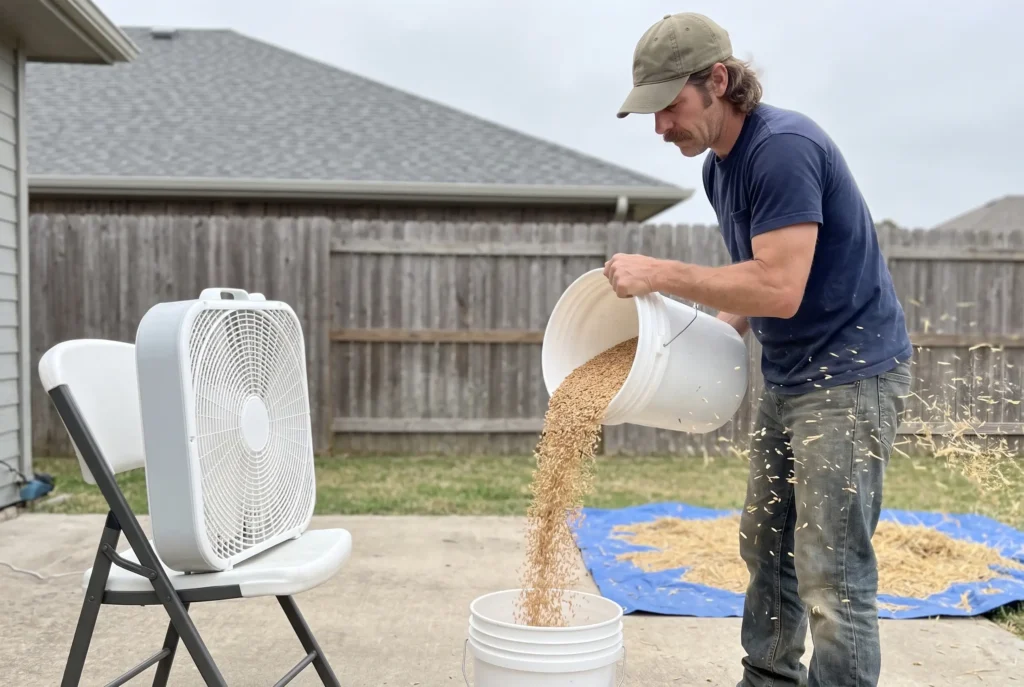
Want to see the whole job in a real backyard? This gardener grows a small patch, harvests and dries it, threshes and mills it into flour, then turns the straw into mulch.
Watch a backyard patch go from harvest to flour, then follow the steps in this guide. Video: Jacques in the Garden.
Milling Homegrown Wheat into Flour
Once the wheat berries are clean and dry, you can grind them into flour. Choose a hand-crank grain mill or an electric one that handles hard grains.
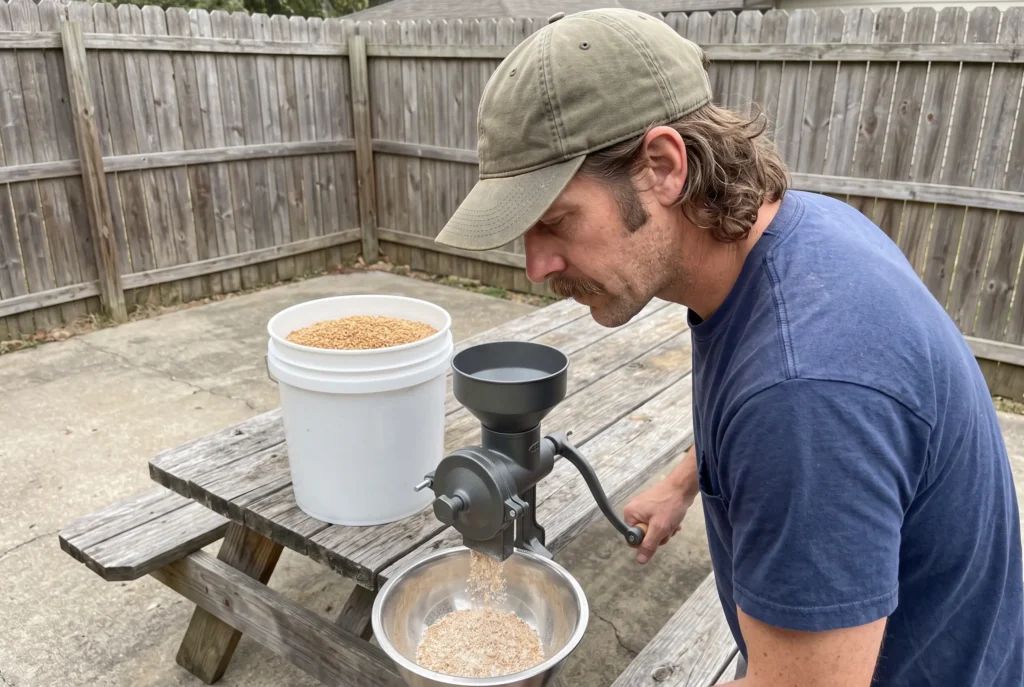
- Rinse the wheat briefly and let it dry fully.
- Feed it into your mill in small batches.
- Store the flour in a cool, dry container with a tight lid.
STOP POINT: Don’t feed damp grain into the mill. Wait until rinsed berries are hard and dry to the touch again.
Fresh flour works well for baking but won’t last long on the shelf. Freeze any extra flour you won’t use within a week or two. No mill yet? Here are ways to prepare wheat without a grinder.
How Much Wheat Can You Grow?
Use this table as a rough estimate for a good growing year:
| Area Planted | Wheat Harvested | Flour Yield |
|---|---|---|
| 100 sq ft | 8 to 10 pounds | 7 to 9 pounds |
| 500 sq ft | 40 to 50 pounds | 35 to 45 pounds |
| 1,000 sq ft | 80 to 100 pounds | 70 to 90 pounds |
Rough estimates for a good year. Flour assumes whole wheat milling with a little lost to cleaning. Weigh your own first harvest before you plan a bigger plot.
First plots often come in far lower. One extension gardener in Colorado got about 12 ounces of grain from a bed roughly 20 by 4 feet.
A small family that bakes weekly might need around 70 pounds of flour each year. By the table, that takes about 1,000 square feet in a good year. That’s a real garden plot, not a bed or two, so start small and measure your own harvest first.
Why Homegrown Wheat Is Worth It
Wheat is one of the few crops that stores dry and feeds your home year-round. Once stored, wheat berries last for months without refrigeration, and there are plenty of ways to cook wheat berries whole.
Growing and milling your own grain gives you more than flour. You get a pantry staple you raised yourself, plus a pile of straw you can chop and spread as mulch on the rest of the garden.
Your First Wheat Patch
Start this season with a bed you can cut by hand, and weigh what it gives you. Then size next year’s plot from your own number, and bake your first loaf of sourdough bread with flour you grew.
FAQs
Can I grow homegrown wheat in a raised bed?
Yes. Make sure the bed is deep enough for the roots and gets full sun. A raised bed is a good size for a first try, since you can cut it by hand in an afternoon and weigh what you get.
How do I know my homegrown wheat is ready to cut?
Wait until the heads are dry and brittle and the stalks have turned golden. Then bite a kernel. If it’s soft or chalky, give it a few more days. If it’s firm and breaks cleanly, it’s ready.
What type of wheat should I grow for bread?
Look for hard red or hard white wheat. These have more protein, which helps bread rise and hold its shape. Save soft white wheat for pancakes and pastries.
Is special equipment required to grind wheat?
No. A basic grain mill works fine. Manual mills cost less and work without electricity. Whichever you use, pick out small stones and let rinsed grain dry fully first, since stones and damp grain are hard on a mill.
Can I reuse seed from my own crop?
Yes. Let part of your wheat fully mature, then save and dry those kernels for next season. Pick your best heads for seed, and store them somewhere cool and dry until planting time.
Would You Grow Your Own Wheat?
A patch of homegrown wheat takes space and hand work at harvest, while bought wheat berries skip straight to the mill.
Tell us what you’d plant and why in the comments.