Want farm-raised turkey for Thanksgiving? Keep reading and learn some simple tips for raising a delicious turkey for the big holiday!
RELATED: Raising Chicks On The Homestead | Springtime Farming
In this article:
- Raising Farm-Raised Turkey 101
- Getting Started with Turkey Poults
- Getting to Know the Behavior of Your Poult
- Brooding Management for Your Poult
- Important Turkey Brooding Tips
- Maturing Turkey Poults
- Knowing When They’re Ready
- When to Butcher Your Turkey
Raise Your Own Farm-Raised Turkey for Thanksgiving
Raising Farm-Raised Turkey 101
-

What Do You Call a Group of Turkeys Photo by Reference
Knowing how to feed and water your farm-raised turkey properly can help avoid a lot of problems as well as help you save money on feeds. Compared to other meats, turkey is leaner and more nutritious.
While it is frequently the meat of choice on special occasions, such as Thanksgiving and Christmas, turkey is also versatile meat you can enjoy at any time of the year. Here are simple homesteading tips to make raising turkeys on your homestead easier.
It is important when raising your own farm-raised turkey to understand your needs. Are you raising turkeys for profit or personal consumption?
I raised turkeys both for a profit and personal consumption, especially during the holidays. A turkey dish is always present on my menu.
Once you understand your needs, it is then necessary to choose what type or breed of turkey and its housing.
The most common breed of turkey grown commercially is Large White. But, there are many other breeds of turkeys you can consider.
Hens normally achieve a live weight of 15 lb. at 14 weeks of age, and toms (male turkeys) weight around 28 to 30 lb. at 12 to 18 weeks.
Getting Started with Turkey Poults
-

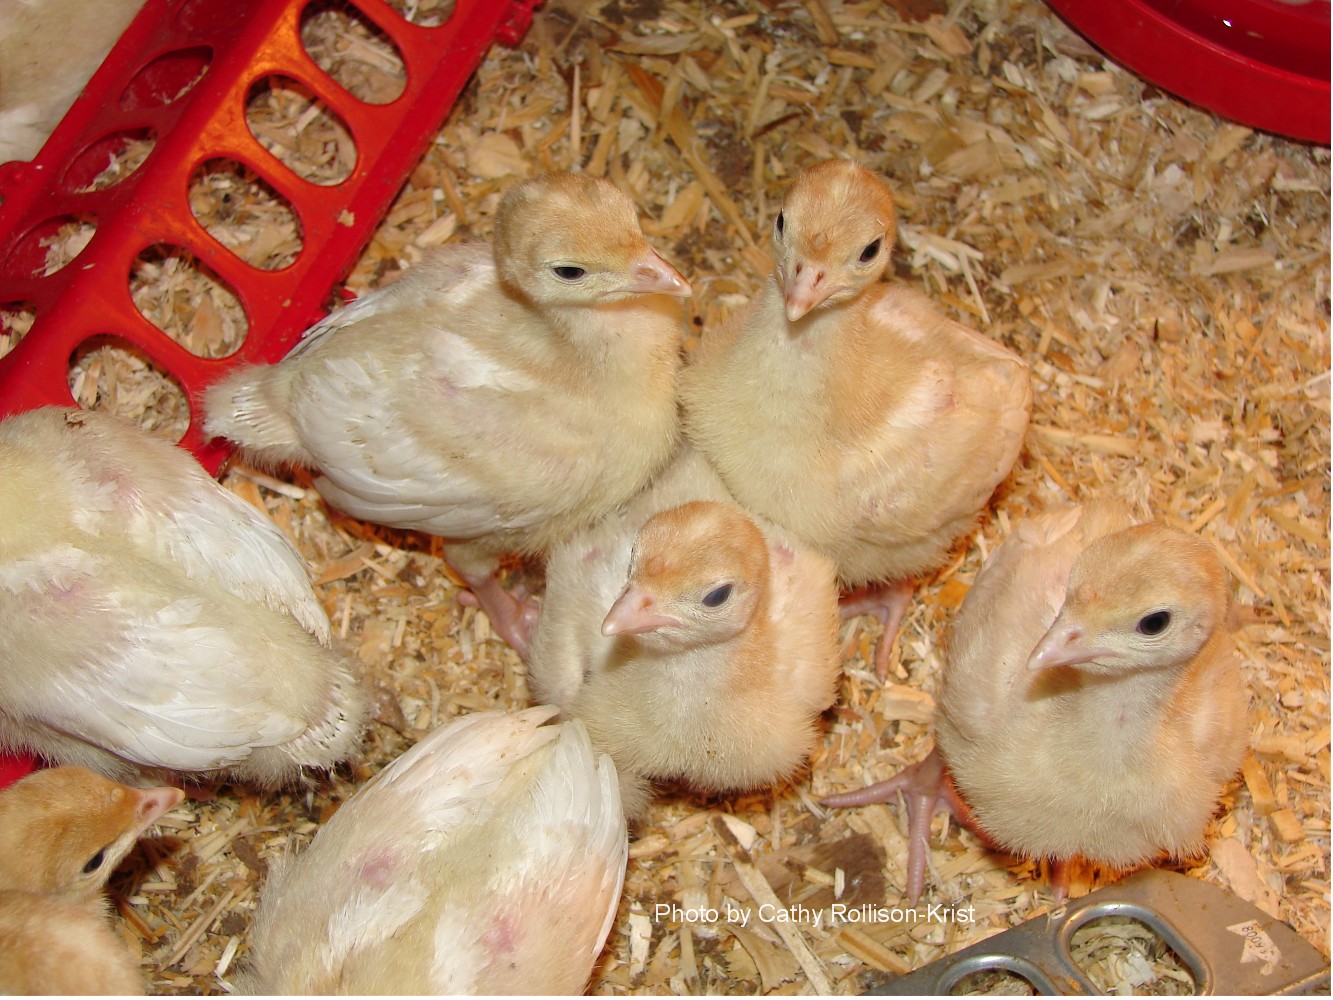
9 Day Old Turkey Poults Photo by Carousel Watergardens Farm
Young turkeys one day old and older (Turkey Poults) are more difficult to get started than chicks. Poults should be brought up in a warm environment without any kind of draft because they can't regulate their body temperature for the first ten days of life.
In the first week of your young poults live, they will need a temperature around 100F, lowering it down by 5F each week until they've completely got their feathers. This is the general guideline and if they are panting and way far from the heat lamp.
That's their way of telling you they are too hot. If they are surrounding and piling on top of each other, it means they're way too cold.
Getting to Know the Behavior of Your Poult
-

Domestic Turkey Photo by Wikipedia
For the first week of raising your turkey poults, you'll notice they rest quite a bit. Rest will be followed by brief periods of brisk activity, and afterward more rest.
Cheerful, healthy poults will be active when conscious. Young toms are generally bolder than young hens and will be the first to peck at new objects.
Lazy poults are often experiencing something, like food or water, bacterial infection, a brooder infection like coccidiosis, or too little warmth. So keep an eye out for this.
RELATED: Want to Deep Fry A Turkey? Here’s How to Do It The Right Way
Brooding Management for Your Poult
-
Brooding and Raising Turkey Poults Photo by Backyard Chickens
The first few weeks of your poult's life are critical to raising a healthy flock. You will need a building to provide protection and proper temperature for your poult to survive.
Buildings of practically any type can be used to brood turkeys so long as the poults are kept dry, warm, and free from drafts. Use the brooding management tips below to help get your poults off to a fast start.
Important Turkey Brooding Tips
1. Space
- Each poult should have at least 1.5 to 2.0 square feet of floor space for the first six to eight weeks of life.
- Providing satisfactory space will prevent swarming and bring better development and growth performances.
2. Cleanliness and Litter
- Your brooder should be thoroughly clean and disinfected before your poults arrival.
- Remove all unnecessary equipment and make sure to wash the house with soap and water, rinsing and sanitizing with the proper cleanser.
- A household disinfectant, like Lysol or chlorine bleach and water, can be utilized as a sanitizing agent.
- Dry your brooder for at least three days before putting in your poults.
- Cover the floor with three to five inches of dry and clean absorbent litter.
- Wood shavings are perfect litter for poults or you can use a different material, such as peanut hulls, straw, or crushed corn cobs.
- The use of litter is to absorb moisture and insulate poults from the cold floor.
- You can cover your litter with paper for the first three to five days to avoid the poults from eating the litter.
3. Temperature
- Give heating by the use of infrared bulbs or electric brooders if available. It is vital to maintain a 100°F temperature at poult stature for the first week.
- Reduce brooding temperatures by 5°F weekly. By four to six weeks of age, poults should no longer require supplemental warmth.
- Brooder guards can be used to help the poults avoid the drafts but near the warmth of the brooder. A 1 to 2-foot high brooder guard of cardboard arranged around 4 feet from the center of the brooder will work admirably.
4. Feeding and Watering Poults
-

Turkey Farming: Practical Solutions Photo by Vet Concerns
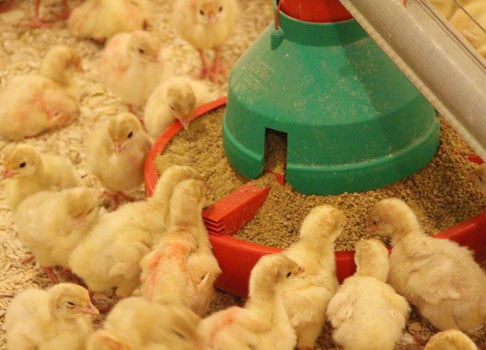
- Arrange waterers and feeders like spokes of a wheel inside the brooding area and should not be directly under the heat source. This will keep the water and feed near the heat source of the brooder where the poults can eat easily. This is vital to avoid chilling and at the same time having the poult eat quickly.
- The round feeder will work admirably and make sure each of your poults could get one linear inch feeder space and feeds should be available at all times. Increase linear space to two to three inches per poult, as they get older.
- It is preferable to have a formulated feeds for turkeys but high protein (23-24%) broiler chicken feeds can be used as a substitute, if necessary.
- It is essential for poults to start drinking immediately. Make sure the waterers have enough water and the is accessible to water for at least 24 hours period during brooding.
- The poults may require help finding the water. Plunging the beaks of a few birds in the water will help them start drinking.
- Once a couple of poults are drinking, the other will soon follow their behavior. Clean waterers every day.
5. Keep a Close Watch
- Keep an eye on your poults during the first few days. At the time when poults are comfortable, they will be evenly distributed in the brooding area.
- If the poults are piling and huddling, your brooding area is too cool. Poults who are always on the edges of the brooding area are most likely too hot and trying the get away from the heat source.
- After six to seven days brooder guards can be removed. However, on cold days you can keep the brooder guard in place longer to protect poults.
- As the poults grow, brooder guards can be enlarged to provide more room.
Maturing Turkey Poults
-

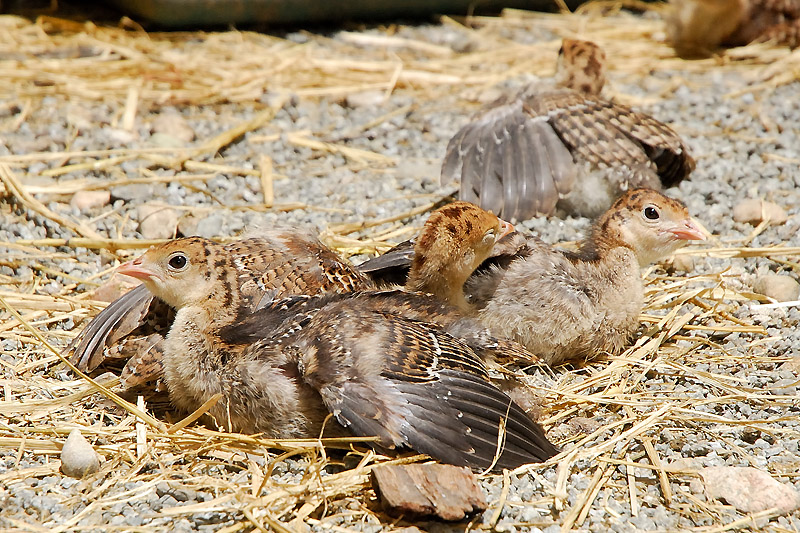
Jenny’s Poults: 3 Weeks Old Photo by Curbstone Valley
By the end of three weeks, your poults have become stronger and larger quickly. Get ready to replace to harder and larger knock over waterers and expect this need and the poults need for more food and water.
By three weeks you'll see the adolescent flight feathers have fully emerged. This is the time you will find out you've passed a crucial stage of your poult's life.
Then, your next concern is by eight weeks you must start to introduce them to the field. Now, you will see the satisfaction of the best free-range turkey flocks roaming your yard.
Knowing When They're Ready
-

Turkey Photo by Simplicity for Julia
Make sure young poults already have their complete set of feathers before you let them out into the field. They should be at least four weeks or older.
You can start to lower their protein ration after weeks. You can feed them with grains, such as oats and corn, mix with the same mash with higher protein.
Oats specifically are great and help your farm-raised turkey develop strong bones, therefore it prevents bone disfigurements and feather picking.
When to Butcher Your Turkey
This is the time I always look forward to–butchering time. The perfect time to butcher your turkey depends on the breed you’ve chosen to raise, as all birds are different.
So, depending on the particular breed, feeding program, and brooding management and personal taste, these ages could differ by a week or two.
- Heritage Breed Turkey – 28 weeks
- Broad Breasted Turkey – 18 weeks
Nevertheless, you now have farm-raised turkey for Thanksgiving ready at your disposal.
This video from White House on the Hill will show you some tips for hatching turkeys, especially for beginners:
Raising turkeys is both beautiful and helpful in controlling pests. Turkeys are easy to raise and fun to watch.
By raising organic turkey, you'll also have farm-raised turkey for Thanksgiving without paying a hefty price.
Do you think you can now raise your own farm-raised turkey for Thanksgiving? Let me know in the comments section below.
Up Next:
- How To Build A Chicken Coop In 4 Easy Steps
- How To Carve A Turkey The Right Way
- Growing Fruit Trees From Seeds You Save | Homesteading
Follow us on Instagram, Twitter, Pinterest, and Facebook!
Editor’s Note: This post was originally published on September 6, 2016, and has been updated for quality and relevancy.

[…] Raise A Plump Juicy Farm-Raised Turkey For Thanksgiving […]