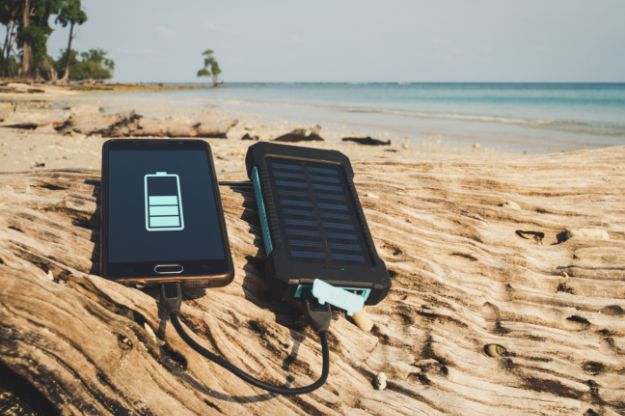
Want to know how you make your own solar powered phone charger? You'll only need to follow 6 easy steps, and you're done!
DIY Solar Powered Phone Charger
Solar power has been revolutionizing the world as we know now. There has been so many inventions that use this power source that have truly made a difference. As a homesteader, I really like things that are efficient and don't produce any waste. So when I encountered this how-to on a solar powered USB phone charger, I just couldn't wait to share it with y'all! I'm sure you'll love to create your own. You'll just need a few supplies and it's as easy as 1-2-3-4-5-6—done!
Special thanks to Fix.com for this easy tutorial!

6 Easy Steps To Create Your Own Solar-Powered USB Phone Charger
1. Wire Up the Solar
Solder the diode's positive side to the positive solder point on the solar cell.
Solder a wire to the other end of the diode.
Solder a wire to the negative solder point on the solar cell.
Add a layer of tape for protection.
2. Connect The Battery Pack
Connect the solar wires to the battery pack wires (connect all the positive wires with all the negative wires).
3. Prepare The Charger
Remove the charger from any plastic casing.
Disconnect any random wires or battery packs.

4. Solder The Charger
Solder the positive wires to the positive point on the board and the negative wires to the negative point on the board.
5. Prepare The Tin
Snip a hole big enough for the USB port.
6. Assemble The Charger
Put down electrical tape below the bare circuit board.
Glue in the battery pack and glue down the USB circuit.

Are you going to give it a try? I hope you are! Share your thoughts below in the comments! 🙂
Want to build your own solar panel?
Get the steps here: How to Make Solar Panels for Your Small Electronics


[…] Also See: DIY Solar Powered Phone Charger […]