
At a glance
- Cost: A deep stockpot with a rack handles the water bath. A pressure canner runs about $100 to $175, and you can borrow one first.
- Time: Processing is 15 to 20 minutes for applesauce and 55 to 90 minutes for pumpkin cubes, plus 12 to 24 hours of hands-off cooling.
- Space: One stove, a towel-covered counter away from drafts, and a cool shelf that stays 50 to 70°F.
- Skill level: Beginner for applesauce. Read the manual twice before your first pressure-canner batch.
A pie pumpkin can sit on a cool shelf until January. A bucket of green tomatoes picked before the frost won’t last the week.
That’s the whole trick to canning the fall harvest: sort the pile before you heat any water. Some crops go in a water bath. Some need a pressure canner. And some never need a jar. I’ll walk you through the sort, two tested batches, and where to keep jars so they make it to spring.
RELATED: Canning 101: Water Bath vs Pressure Canning (Which Do You Need?)
As an Amazon Associate, we earn from qualifying purchases.
How is canning the fall harvest different from summer canning?
Fall canning is slower, and the mistakes are harder to see. The crops are denser and lower in acid, frost changes your tomatoes, and a cold house changes how jars cool.
Summer canning is mostly high-acid stuff: tomatoes, berries, pickles. Fall swaps that for pumpkins, squash, and roots. Those need more care, not more speed. Three changes matter before you start.
Dense crops change the rules
Pumpkin, winter squash, and sweet potatoes are thick and heavy. Heat moves through them slowly. That’s why they get cut into cubes and pressure canned, never mashed.
Mashed squash packs tight in the jar. The center can stay too cool to be safe, even when the gauge reads right. Cubes leave gaps for hot liquid to move, so the heat gets all the way in.
Frost changes your tomatoes
Green tomatoes picked before a frost are fine to can. Use them in any tested tomato recipe and add the same bottled lemon juice or citric acid you’d add to ripe ones. Penn State Extension’s tomato guide backs this up, and it’s just as clear about the next part.
Tomatoes from vines that frost already killed are another story. Don’t can those. They may not have the acid level the tested recipes count on. Eat them this week, cook with them, or freeze them.
A colder house changes how jars cool
Jars come out of the canner at boiling temperature. On a chilly day it’s tempting to park them by an open window to cool faster. Don’t.
A cold draft or a cold stone counter can crack a hot jar. Set jars on a folded towel, about an inch apart, away from drafts. Then leave them alone for 12 to 24 hours.
Which fall crops can you can, and which should you store?
Apples, pears, pickled beets, and acidified tomatoes go in a water bath. Pumpkin, squash, and root crops need a pressure canner. Pumpkin puree and pumpkin butter don’t go in a jar at home, period.
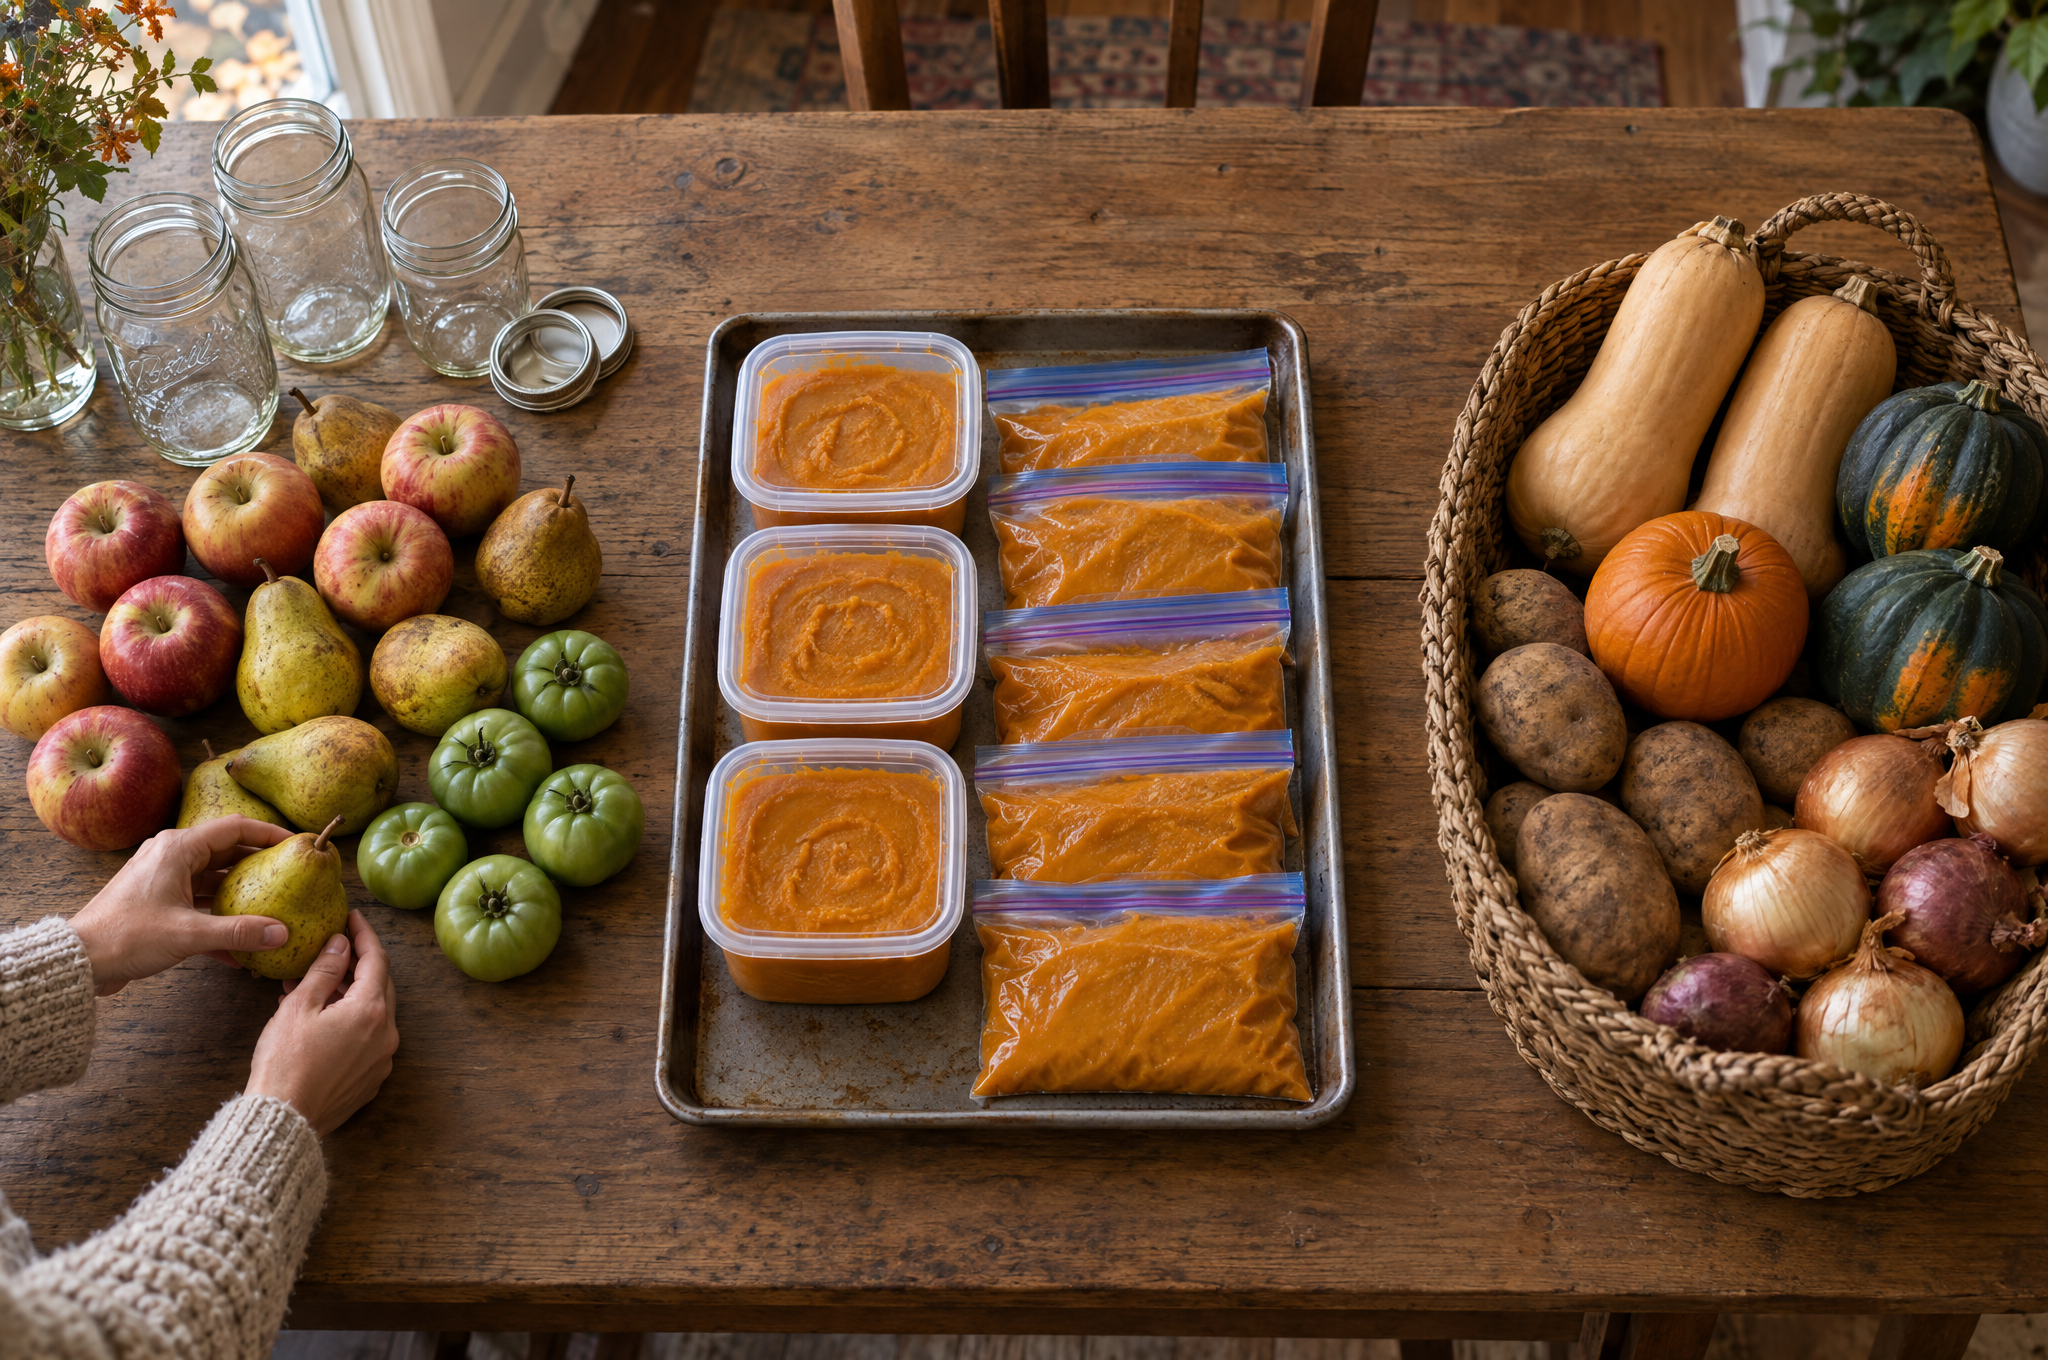
You also don’t have to can everything. A good share of the fall pile keeps for months in a cool spot with no jar at all. Start with the easy wins.
Water-bath crops: the easy fall wins
These foods are high in acid, or have acid added. Boiling water is hot enough to make them shelf-safe.
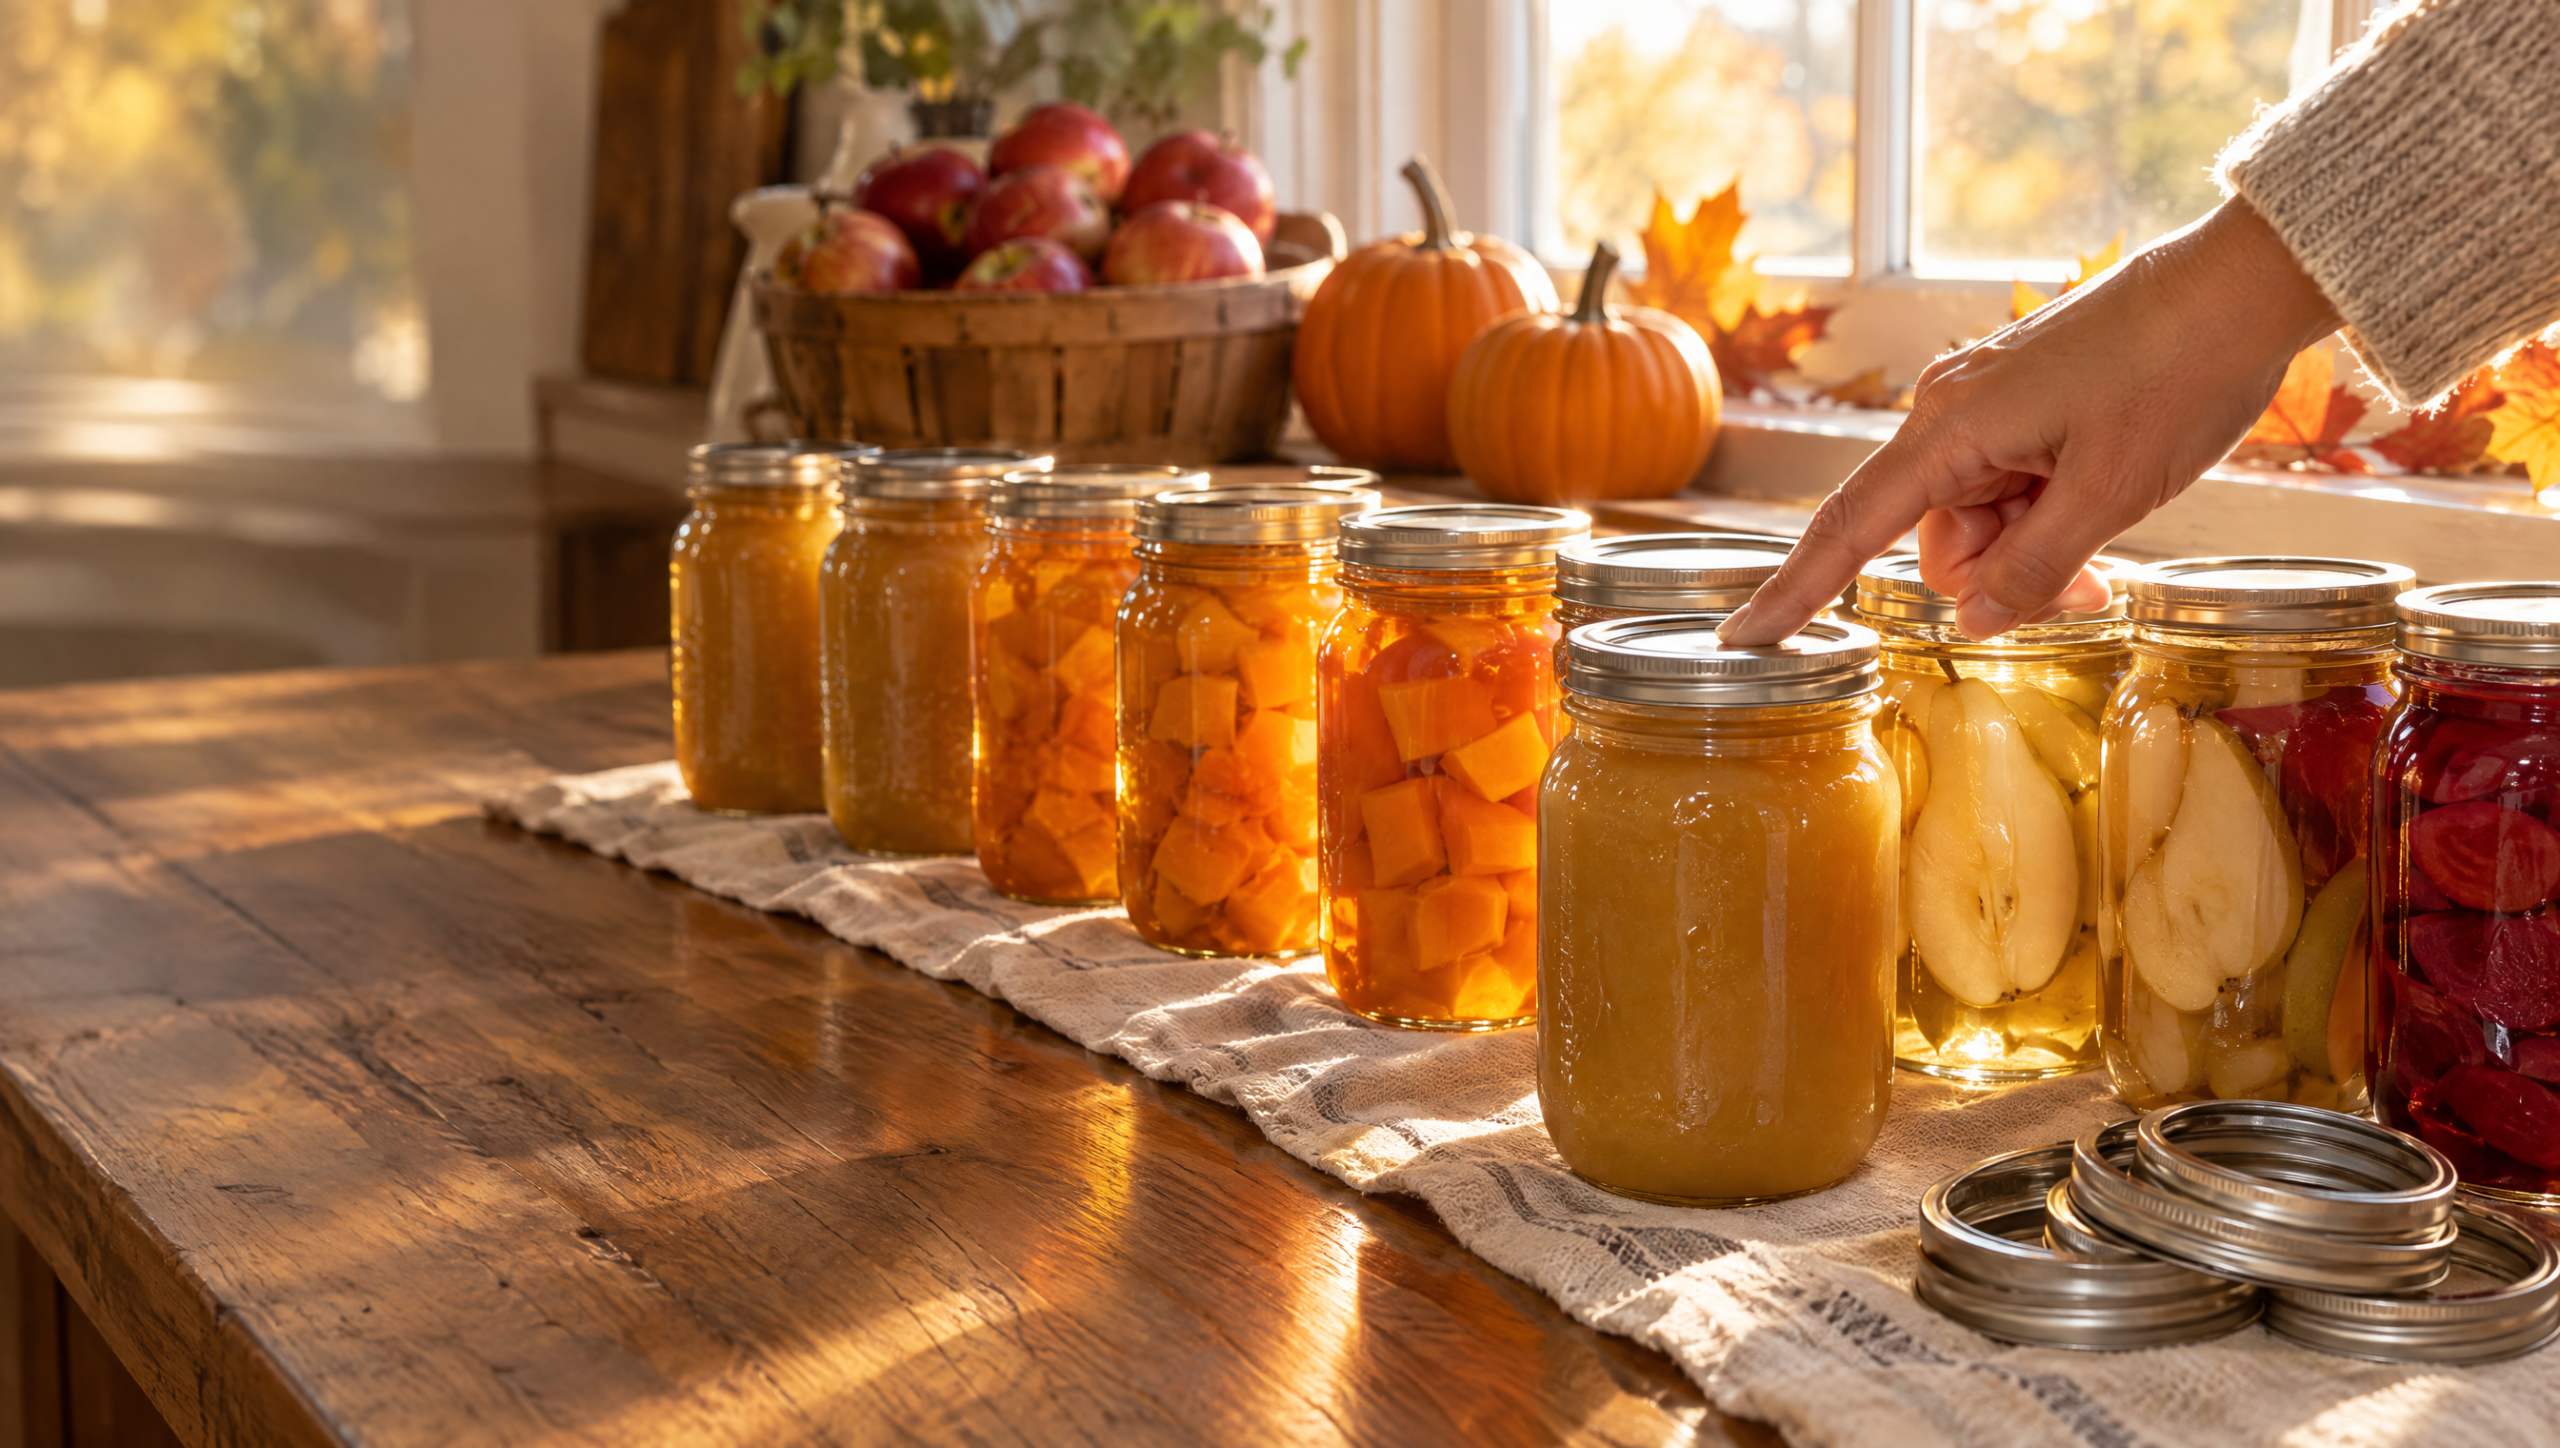
- Applesauce, apple slices, and apple butter
- Apple pie filling (made with ClearJel only)
- Pears in syrup or juice
- Pickled beets in a tested vinegar brine
- Tomatoes, ripe or green, with bottled lemon juice or citric acid added
Pressure-canner crops: only with the right gear
These are low in acid. They need to hit 240°F to be safe, and boiling water tops out at 212°F. Only a pressure canner gets there.
- Pumpkin and winter squash, in 1-inch cubes
- Carrots
- Plain beets (not pickled)
- White potatoes, cubed or small whole
- Sweet potatoes, in pieces, never mashed
Never can these at home
No tested home method exists for these. They belong in the freezer, not on the shelf. Clemson Extension puts it plainly: pureed pumpkin can’t be safely canned, and spaghetti squash goes in the freezer.
- Pumpkin puree and pumpkin butter
- Mashed winter squash or mashed sweet potatoes
- Spaghetti squash
- Apple pie filling thickened with flour or cornstarch
- Tomatoes from frost-killed vines
Crops that keep better whole
Some of the best fall preserving takes no heat at all. Old-timers called it root cellaring, and you don’t need a real cellar. (My root cellar vent is still on the Project Board, so this year the squash lives on a closet shelf.)
- Winter squash and pumpkins: Let them cure somewhere warm for about 10 to 14 days (acorn squash can skip this), then keep them in a cool, dry spot around 50 to 55°F. Many last for months.
- Potatoes: Keep them cool, dark, and dry. Light turns them green.
- Onions and garlic: Cure them until the necks are dry, then store them somewhere cool and airy.
- Apples: Keep them cold, like a fridge drawer or a cold garage that doesn’t freeze. Store them away from potatoes, because apples make potatoes sprout.
Got a cold frame or low tunnel? Kale, carrots, and other hardy greens can keep growing well into winter, and anything you can still pick fresh doesn’t need a jar yet. Our guide to vegetables to plant in September covers what still fits before frost.
| Fall Crop | Method | Key Rule |
|---|---|---|
| Applesauce, apple slices, apple butter | Water bath | Follow tested recipe times |
| Apple pie filling | Water bath | ClearJel only, never flour or cornstarch |
| Pears | Water bath | Hot pack in syrup or juice |
| Pickled beets | Water bath | Don’t cut the vinegar |
| Tomatoes (ripe or green) | Water bath or pressure | Add bottled acid; skip frost-killed vines |
| Pumpkin and winter squash | Pressure canner | 1-inch cubes, never mashed |
| Carrots, plain beets, potatoes | Pressure canner | Follow tested recipe times |
| Sweet potatoes | Pressure canner | Pieces, never mashed |
| Pumpkin puree or pumpkin butter | Freezer | No tested home canning method |
| Whole squash, potatoes, onions, apples | Cool storage | Cure first where needed |
CHECKPOINT: Find every crop on your counter in this table before you heat any water. If a crop isn’t here and you can’t find a tested recipe for it, freeze it or store it whole.
What do you need to can your fall harvest?
A water-bath canner covers your apples, pears, and tomatoes. You only need a pressure canner if you plan to can pumpkin, squash, or roots. The rest fits in one kitchen drawer.
Most people start with the water-bath list this fall and add a pressure canner later, once applesauce feels easy. Here’s each list, and why every item is on it.
As an Amazon Associate, we earn from qualifying purchases.
For apples, pears, and tomatoes
- A water-bath canner with a rack. The rack keeps jars off the hot bottom so they don’t crack. A deep stockpot with a rack works too.
- Wide-mouth jars with new lids. Wide mouths are easier to fill with thick applesauce and easier to scrub out later.
- A jar lifter, funnel, and headspace tool. The lifter keeps your fingers off hot glass, the funnel keeps rims clean, and the tool keeps your headspace right. Those three do most of the work of getting a good seal.
- A food mill. It pushes cooked apples through and leaves the peels and seeds behind, so you can skip peeling a whole bushel.
- ClearJel (cook-type), only if you want apple pie filling. It’s the one thickener tested for canning, and most grocery stores don’t carry it.
- Bottled lemon juice. You’ll need it for any tomato jars, and every grocery store has it.
Starting from zero? This set puts the canner, rack, and small tools in one box:

- Our products are versatile and efficient, but please note: they are NOT SUITABLE for use on GLASS COOKTOPS or INDUCTION STOVETOPS.
- 21.5-quart water bath canning pot with lid, providing the durability and heat resistance essential for effective canning. Easy to...
- Five piece toolset: Featuring a bubble remover (1) and ruler: A flexible, tapered silicone scraper that efficiently releases trapped...
For pumpkin, squash, and roots
- A pressure canner. It’s the only tool that gets low-acid food hot enough to be safe on a shelf. This is the one piece worth reading the manual on twice.
- A weighted pressure regulator. On a Presto canner, it holds pressure for you, so you don’t have to get a dial gauge tested every year.
- The same jars and small tools from the list above.
This is the one most beginners end up with. It holds 7 quart jars and works on most home stoves:

- The only method recommended safe by the US Department of Agriculture for canning vegetables, meats, poultry, and seafood
- Doubles as a boiling-water canner for preserving fruits, jams, jellies, pickles, and salsa; Handy as a large capacity pressure cooker
- Constructed of warp-resistant heavy-gauge aluminum for fast, even heating; Works on regular and smooth-top ranges; Extended 12-year...
A pressure canner is a real purchase. If you’ll only can pumpkin once a year, borrow one first, or freeze the puree and skip it for now. Cheap is fine. Cheap twice isn’t.
How to plan your fall canning weeks
Fall crops don’t spoil at the same speed. Frost-rescued tomatoes and ripe pears won’t wait. A cured butternut will sit on a shelf until January.
So work the pile in the order it spoils, one method at a time. Before you start, count how many jars your family really eats in a year. Applesauce once a week is about 52 pints. Can that many and stop.
First: frost-rescue crops
Pick green tomatoes before the first hard frost. Can them in a tested tomato recipe, freeze them, or let some ripen on the counter. Do this week one, because they won’t hold.
Next: apples and pears
Apples and pears are forgiving, and they make the best first batch. Start with applesauce. It teaches headspace, timing, and seal checks while the stakes are low.
Last: squash and roots, only if you want jars
Cure the squash and store the potatoes first. Then decide if you really want jars of them. If you do, save pressure canning for a quiet weekend.
How to water-bath can applesauce, step by step
Applesauce is the best first fall batch. It’s high in acid, it’s forgiving, and the gear is simple. Figure about 3 pounds of apples per quart. The headspace and times below come straight from Penn State Extension’s tested applesauce method.
The times below are for pints and quarts at 1,000 feet or less, with altitude changes listed. Prep, fill, process, cool.
Watch: making applesauce and water-bath canning it, start to finish. Use the times and headspace in the steps below. Video by MorningChores.
Prep the apples and jars
- Wash your jars in hot, soapy water. Keep them in hot water until you fill them. Warm jars are less likely to crack.
- Set the rack in your canner, fill it about halfway with water, and bring it to a simmer.
- Wash, peel if you like, core, and slice your apples. Drop the slices into cold water with a little lemon juice so they don’t brown.
- Drain the slices. Put them in a large pot with about 1/2 cup of water. Cook and stir until tender, about 5 to 20 minutes.
CHECKPOINT: Apples mash easily with a spoon. Jars are still warm. Canner water is simmering.
Fill the jars
- Run the apples through a food mill or sieve for smooth sauce, or mash them for chunky sauce. Add sugar if you like. It’s for taste, not safety. Bring the sauce back to a boil.
- Fill your hot jars with hot applesauce. Leave 1/2 inch of headspace. Run a plastic bubble tool around the inside, then check the headspace again.
- Wipe each rim with a clean, damp cloth. Add a new lid and screw on the band just until it’s fingertip tight.
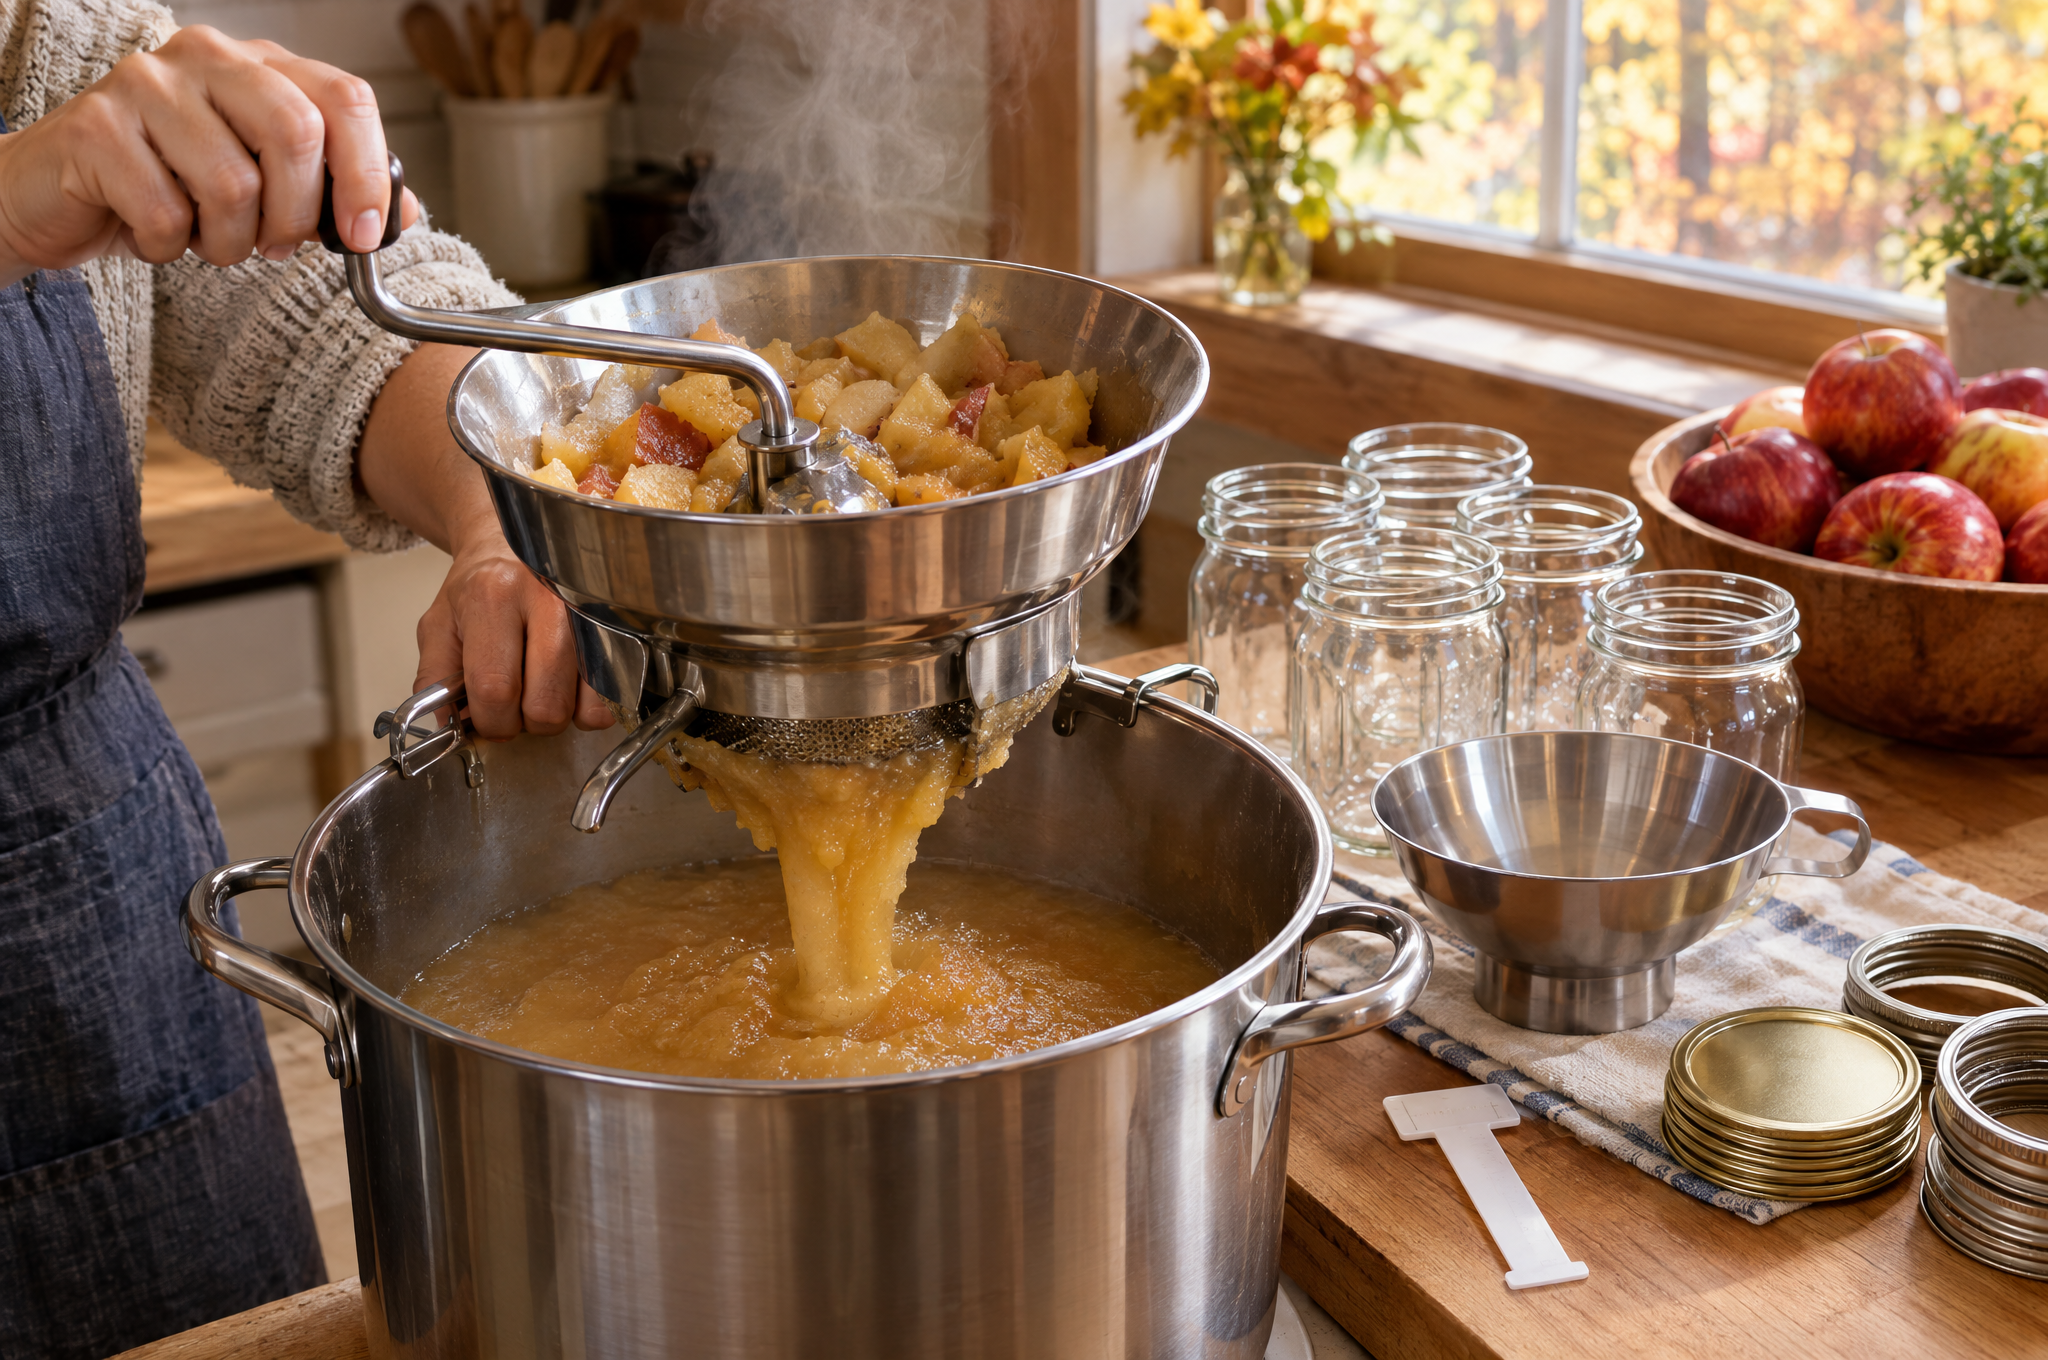
CHECKPOINT: Headspace measured with a tool. Rims clean. Bands snug, not cranked down.
Process the jars
- Set the jars on the rack. Add hot water until the tops are covered by at least 1 inch. Put the lid on and bring the water to a full rolling boil.
- Start your timer only when the water is at a full rolling boil. Process pints for 15 minutes and quarts for 20 minutes at 1,000 feet or less.
| Altitude | Pints | Quarts |
|---|---|---|
| 0 to 1,000 feet | 15 minutes | 20 minutes |
| 1,001 to 3,000 feet | 20 minutes | 25 minutes |
| 3,001 to 6,000 feet | 20 minutes | 30 minutes |
| Above 6,000 feet | 25 minutes | 35 minutes |
- When the timer ends, turn off the heat, take off the canner lid, and wait 5 minutes.
STOP POINT: If the boil stops at any point, bring it back to a full rolling boil and start the timer over from zero. Don’t add the minutes up.
Cool and rest
- Lift each jar straight up with your jar lifter. Don’t tilt it. Set jars on a towel, an inch apart, away from drafts.
- Leave them alone for 12 to 24 hours. Don’t tighten the bands. Don’t press the lids. You’ll hear pings as they seal.
CHECKPOINT: After 24 hours, move on to the seal test below.
How to pressure can pumpkin or winter squash cubes
This is the high-risk part of fall canning. Follow each step exactly and it’s safe. Skip one and it isn’t. If you’ve never run a pressure canner, read the manual twice, and do your first batch next to someone who has. The cube size, times, and pressures below match Penn State Extension’s tested method.
The times below are for 1,000 feet or less, with altitude pressures listed. Plan on about 2 pounds of pumpkin per quart.
RELATED: Pressure Canning for Beginners: Learning the Basics
Watch: cutting, precooking, and pressure canning pumpkin in cubes. Use the times and pressures in the steps below. Video by MorningChores.
Cut and precook the squash
- Pick firm, fully ripe pie pumpkins or hard winter squash with no soft spots. Carving pumpkins tend to be watery and stringy.
- Wash, cut in half, and scoop out the seeds. Cut into 1-inch-wide slices and peel them. Then cut the flesh into 1-inch cubes.
- Boil the cubes in water for 2 minutes. Don’t mash them. Don’t puree them.
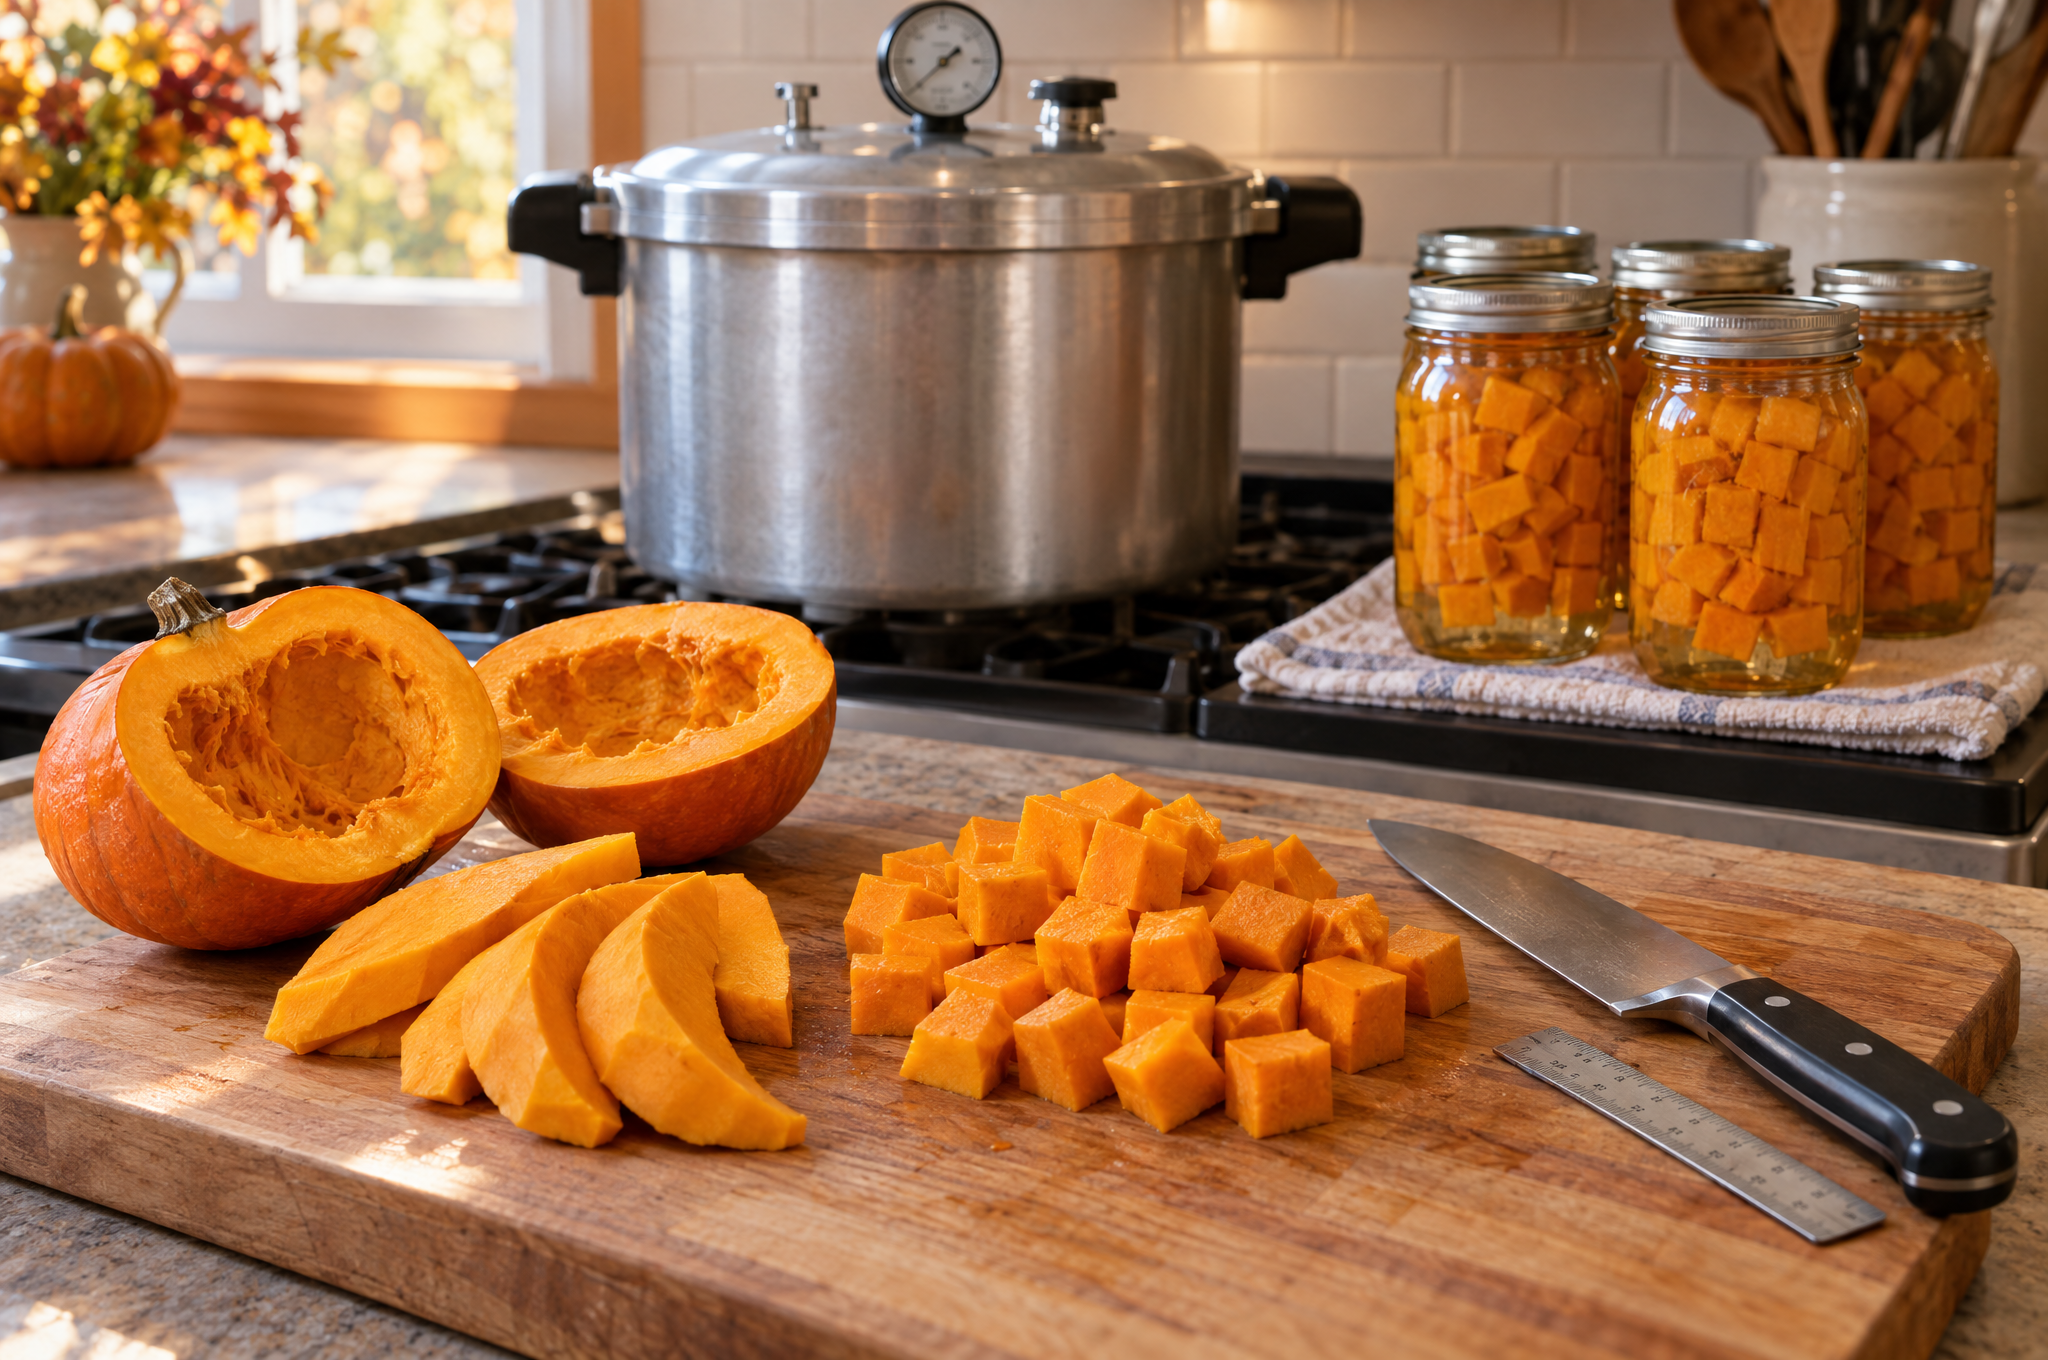
STOP POINT: If your cubes fall apart into mush, stop here. Mushy squash packs like a puree and won’t heat safely in the jar. Freeze this batch instead.
Fill and load the canner
- Fill hot jars with hot cubes. Pour hot cooking liquid over them, leaving 1 inch of headspace. Remove bubbles, wipe the rims, and add new lids and bands.
- Put the rack and 2 to 3 inches of hot water in your canner, or the amount your manual says. Set the jars on the rack.
- Lock the canner lid in place. Leave the weight off, or the petcock open.
CHECKPOINT: One inch of headspace. Cubes whole, not mashed. Right amount of water. Lid locked.
Vent, pressurize, and process
- Turn the heat to high. When steam flows out of the vent in a steady stream, set a timer and let it vent for a full 10 minutes. This pushes out trapped air. Air left inside makes your gauge read higher than the real temperature.
- Put the weight on, or close the petcock. Let the pressure build.
- Start your timer when the canner reaches the right pressure. Process pints for 55 minutes and quarts for 90 minutes.
| Gauge type | Altitude | Pressure |
|---|---|---|
| Weighted gauge | 0 to 1,000 feet | 10 pounds |
| Weighted gauge | Above 1,000 feet | 15 pounds |
| Dial gauge | 0 to 2,000 feet | 11 pounds |
| Dial gauge | 2,001 to 4,000 feet | 12 pounds |
| Dial gauge | 4,001 to 6,000 feet | 13 pounds |
| Dial gauge | 6,001 to 8,000 feet | 14 pounds |
STOP POINT: If the pressure drops below your target at any time, bring it back up and restart the timer from zero. Don’t average it out, and don’t just add a few minutes.
Cool down without rushing
- Turn off the heat. Let the canner cool on its own until the pressure reads zero. Don’t run it under water. Don’t open the vent early. Rushing the cool-down can pull liquid out of jars, break seals, and cause burns.
- Once the pressure is at zero, take the weight off or open the petcock. Wait 10 more minutes. Then unlock the lid and lift it tilted away from your face.
- Lift jars straight up and out. Set them on a towel, away from drafts, and leave them alone for 12 to 24 hours.
CHECKPOINT: After 24 hours, do the seal test below before anything goes on a shelf.
How to check seals and store fall jars through winter
The canner is only half the job. Fall jars head into the coldest months of the year, and where you keep them matters as much as how you made them.
A jar that sealed on Sunday can still fail in a freezing garage in January. Here’s how to check each seal, where jars belong once it freezes outside, and what to do with a jar you don’t trust.
The 24-hour seal test
Take the bands off. Press the middle of each lid. A good seal is curved down a little and doesn’t move or pop back.
If a lid flexes, that jar didn’t seal. You have three safe choices:
- Reprocess it within 24 hours with a new lid, using the full process time
- Put it in the fridge and eat it within a few days
- Freeze the contents
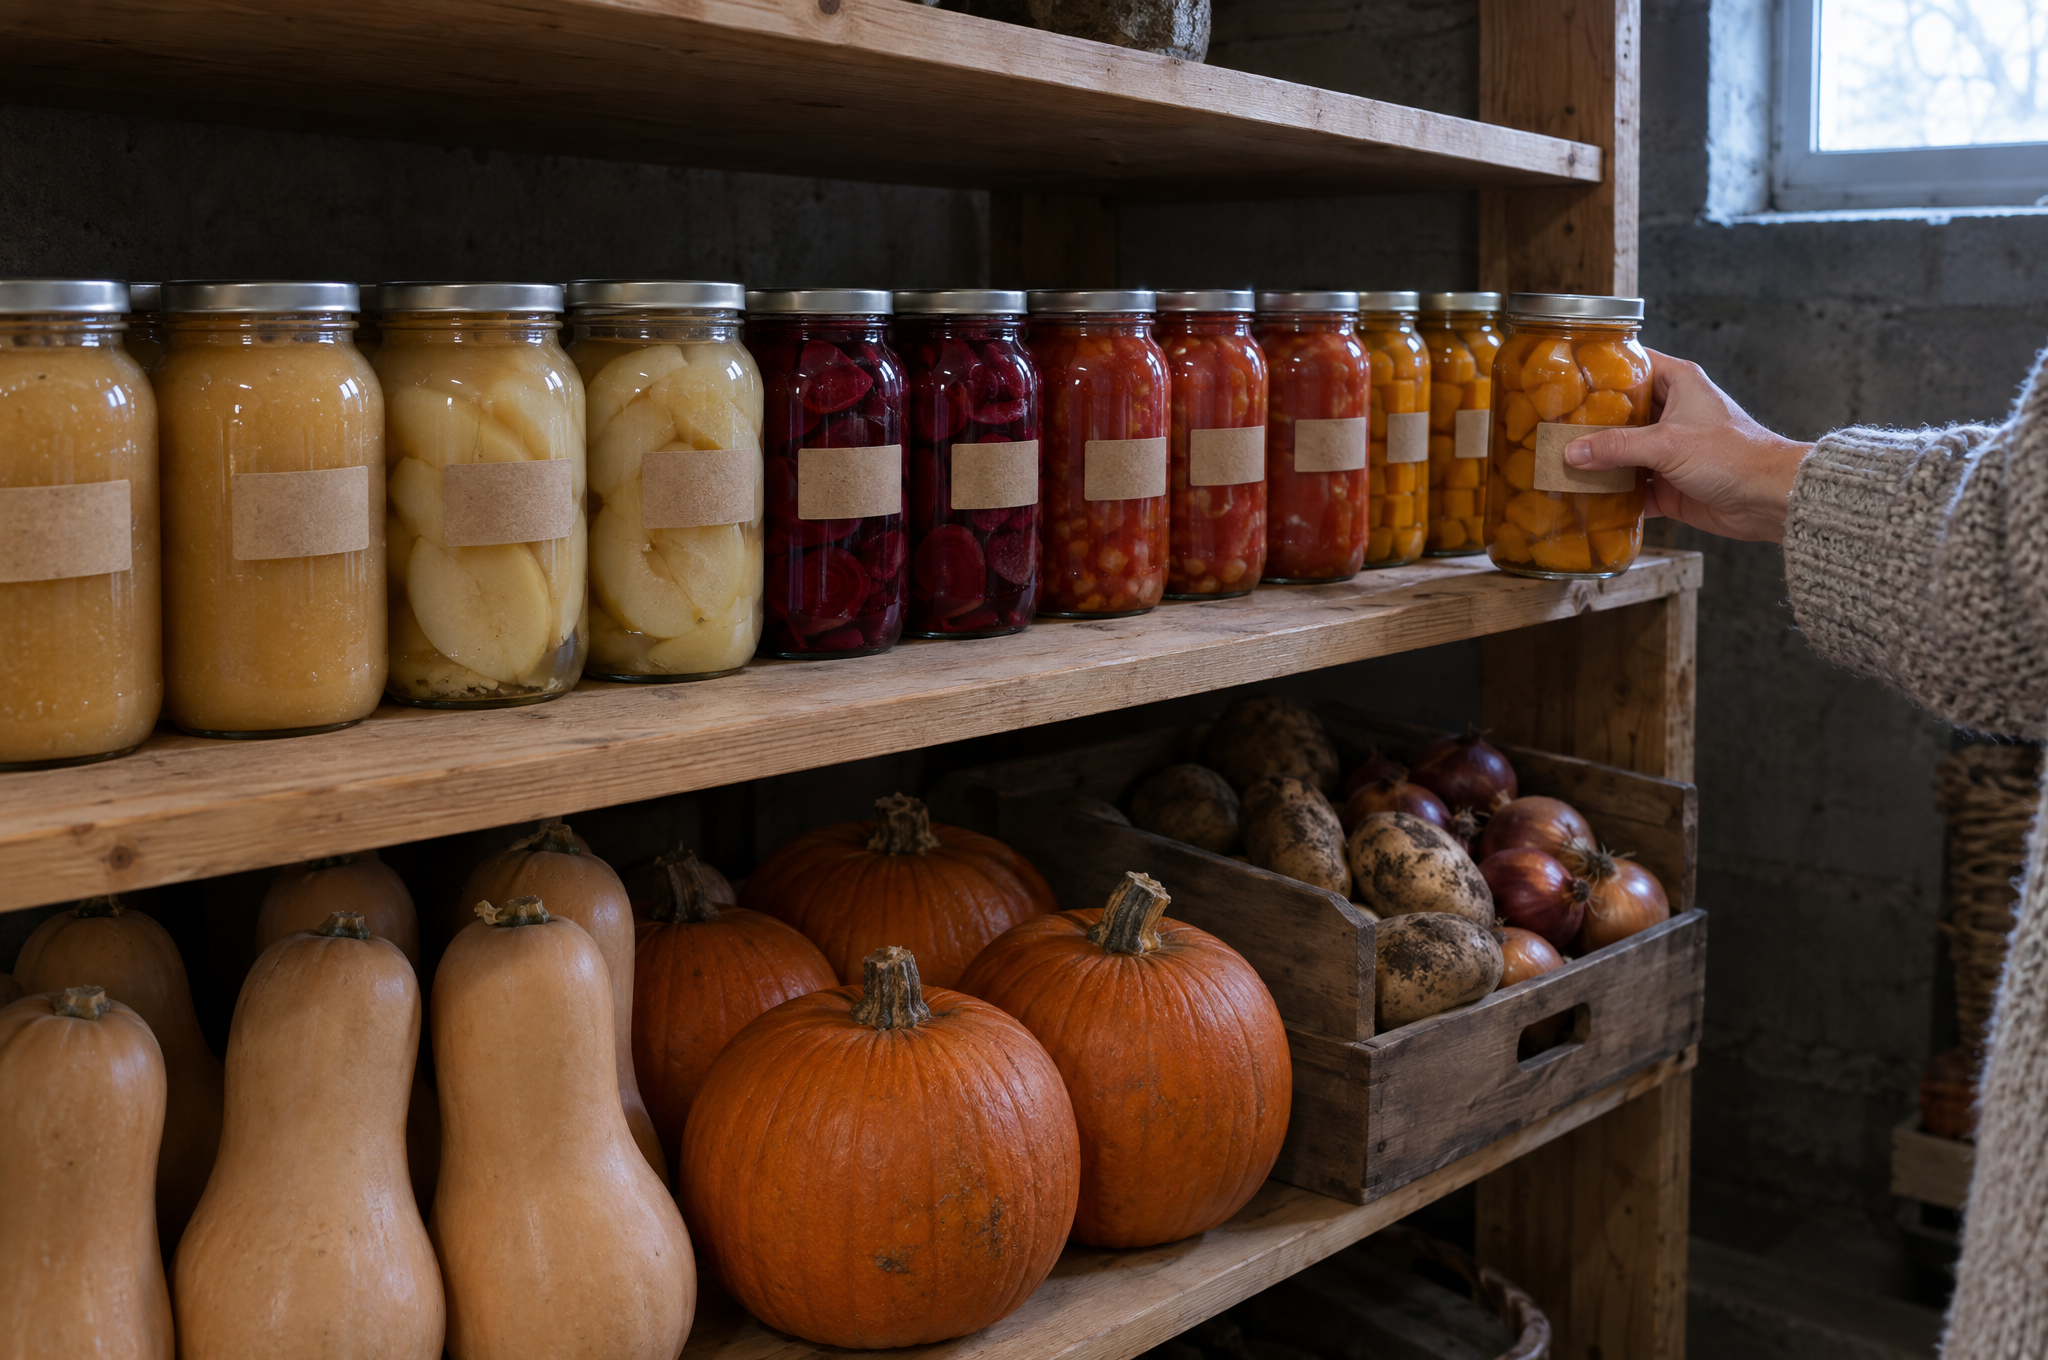
Wash the outside of every sealed jar. Label it with what’s inside and the date. Store jars without the bands so a failed seal can’t hide.
Where to store jars when it freezes outside
Keep jars somewhere cool, dark, and dry, between about 50 and 70°F. A pantry, closet, or basement shelf works well.
Don’t store jars in an unheated garage, shed, or porch. If the food freezes, it can push the lid up and break the seal. Skip spots above the stove or next to the furnace too. Use jars within a year for the best taste, and keep a simple list of what’s on the shelf so nothing gets lost in the back.
When in doubt, throw it out
Check every jar before you open it, and again after. Throw it out if you see:
- A bulging or loose lid
- Leaking, or liquid that spurts when you open it
- Mold, foam, or bubbles rising in the jar
- An off smell or strange color
Never taste a jar to check it. Seal the jar in a heavy trash bag and put it in the outdoor trash, out of reach of kids and pets. Then wash your hands and anything the food touched with hot, soapy water.
STOP POINT: If anyone eats from a jar and later has double or blurry vision, drooping eyelids, slurred speech, trouble swallowing or breathing, or muscle weakness, call 911 or go to the emergency room right away. Botulism is a medical emergency, and fast treatment matters.
Troubleshooting fall canning problems
Most canning problems show up as one of a handful of signs. The fix is usually a small change to the next batch.
Match what you see to the cause and the fix.
| Symptom | Likely Cause | Fix |
|---|---|---|
| Jar cracked in the canner or on the counter | Cold jar into hot water, or hot jar hit a draft or cold counter | Keep jars warm before filling; cool on a towel away from drafts |
| Lid didn’t seal after 24 hours | Food on the rim, a chipped rim, or a band that was too loose or too tight | Reprocess within 24 hours with a new lid, refrigerate, or freeze |
| Liquid lost from pressure-canned squash | Pressure went up and down, or the canner was cooled too fast | Keep heat steady; always let pressure drop on its own. Sealed jars are fine; use them first |
| Applesauce leaked out during processing | Too little headspace, or jars pulled right after the boil | Leave 1/2 inch of headspace; wait 5 minutes before lifting jars |
| Squash cubes turned mushy in the jar | Some softening is normal. If cubes were already mushy going in, the jar may not have heated through | If the cubes were mushy before canning, throw the jar out |
| Top of applesauce turned dark | Air left in the headspace | Quality issue only. Remove bubbles and measure headspace next time |
| Pressure won’t build | Lid not locked, gasket worn, or steam leaking around the lid | Turn off heat, let it cool, check the gasket and vent, and call the maker if it keeps happening |
Common internet shortcuts to avoid
Every fall brings a flood of pretty pumpkin and apple recipes, and a lot of them were never tested. They look harmless in a photo. The problem is inside the jar.
Most of these come from good intentions, like saving time or using up a pile of produce. Here’s what to do instead.
Canned pumpkin butter and pumpkin puree
These are everywhere in fall, and no tested home method exists for either. Puree is too thick for heat to reach the center. Make your puree or pumpkin butter, then freeze it or keep it in the fridge.
“Canning” in a multicooker or the oven
Multicookers and electric pressure cookers aren’t the same as canners. Many can’t be counted on to hold canning pressure long enough, and ovens don’t heat jars evenly. Use a real canner made for the job.
Flour or cornstarch in apple pie filling
Flour and cornstarch clump and thicken unevenly in the jar, and heat can’t get through them the right way. The only tested thickener for canned pie filling is ClearJel, a cooking starch made for canning. Get the cook-type, not the instant kind.
Flipping jars upside down instead of processing
Turning hot jars over might make a lid pop down, but that’s not a safe seal. Every jar needs the full processing time in a canner.
Water-bathing pumpkin for hours
A longer boil doesn’t fix a low-acid food. Boiling water never gets hotter than 212°F, no matter how long it boils. Pumpkin needs a pressure canner, or the freezer.
When to call a pro
For canning, the pro isn’t a contractor. It’s your county extension office, your canner’s maker, or a doctor. This is where the DIY part stops.
Call for help when:
- Your dial gauge hasn’t been tested this year or looks off. Many county extension offices test gauges for free or a small fee.
- Your canner is damaged. A warped lid, a cracked gasket, a bent vent pipe, or missing parts means you need real replacement parts from the maker. Don’t improvise.
- You can’t find a tested recipe for a crop or recipe you want to can. Call your extension office, or freeze it instead.
- You live above 1,000 feet and aren’t sure which time or pressure to use.
- Anyone shows signs of botulism after eating home-canned food. Call 911 or go to the ER.
Buy once: fall canning gear
Some canning gear lasts decades if you buy it once. A cheap shortcut can cost you a whole batch, or worse.
As an Amazon Associate, we earn from qualifying purchases.
You don’t need all of this on day one. Start with the water-bath setup for applesauce, and add a pressure canner when you’re ready.
Pressure canner
Best
Buy once, keep for decades
- A heavy cast-aluminum canner with a metal-to-metal seal and a weighted gauge, like the All American 921.
- No gasket to replace and no yearly gauge test.
- Often $350 and up.
Where most land
Better
Solid gear, lower cost
- A lighter aluminum canner with a rubber gasket and dial gauge, like the Presto 23-quart.
- About $100 to $175.
- Get the gauge tested each year, or add a weighted regulator.
Budget
Start with what you can borrow
- Borrow one from an experienced canner.
- Get the gauge tested and check the gasket before you use it.
Skip: Used canners with no manual or unknown history, and multicookers sold as “canners” without a tested canning process. Weighing an electric model? Read our electric vs. stovetop canner guide first.
Water-bath setup
- Best: A dedicated water-bath canner with a jar rack.
- Budget: A deep stockpot with a rack in the bottom. It must be tall enough for 1 inch of water over your jars, plus room to boil.
Small tools that matter in fall
- Food mill for smooth applesauce without peeling every apple
- Jar lifter, funnel, and plastic headspace tool, sold together in one small kit
- Wide-mouth jars with new flat lids for every batch; jars and bands can be reused
- Bottled lemon juice or citric acid for tomatoes
- ClearJel (cook-type) if you plan to make apple pie filling
- Loud digital timer
See our full beginner canning equipment guide for more.
Before the last jar hits the shelf
Once the jars are on the shelf, the job turns into maintenance. Pull the bands, keep a list taped inside the pantry door, and use the oldest jars first.
If you run a dial-gauge canner, get the gauge tested before next fall’s batch. When applesauce feels easy, our 7 canning recipes for beginners are a good next step.
Questions people ask about fall canning
What’s the easiest food to start with when canning the fall harvest?
Applesauce. It’s high in acid, so a simple water bath is all you need. It also teaches the core skills: measuring headspace, timing the boil, and checking seals. Once you’ve done a few batches, apple slices, pears, and pickled beets are easy next steps.
Can I can green tomatoes before the frost?
Yes. Green tomatoes can go into any tested tomato recipe, and you still add bottled lemon juice or citric acid. The one thing to avoid is tomatoes from vines that frost has already killed. Eat those fresh or freeze them.
Why can’t I can pumpkin puree if I have a pressure canner?
Puree is so thick that heat can’t move through it evenly. The center of the jar can stay too cool to be safe, even at the right pressure. That’s why only 1-inch cubes in liquid have a tested method. Freeze your puree, and mash canned cubes when you open the jar.
Do I need to can my winter squash at all?
Often, no. Most hard winter squash keeps for months once it’s cured and stored somewhere cool and dry. Many homesteaders only can squash with nicks or thin skins that won’t store well, or when they want ready-to-use cubes. It saves you time, jars, and a pressure canning day.
Is a pressure canner worth the cost for canning fall harvest crops?
It depends on what you grow. If you mostly have apples and pears, a water-bath setup is enough. If you want shelf-stable pumpkin, carrots, or potatoes, a pressure canner is the only safe way. A good one lasts decades, but you can borrow one first to see if you’ll use it.
Hot-take poll
Defend your pick in the comments. Winning argument gets pinned.