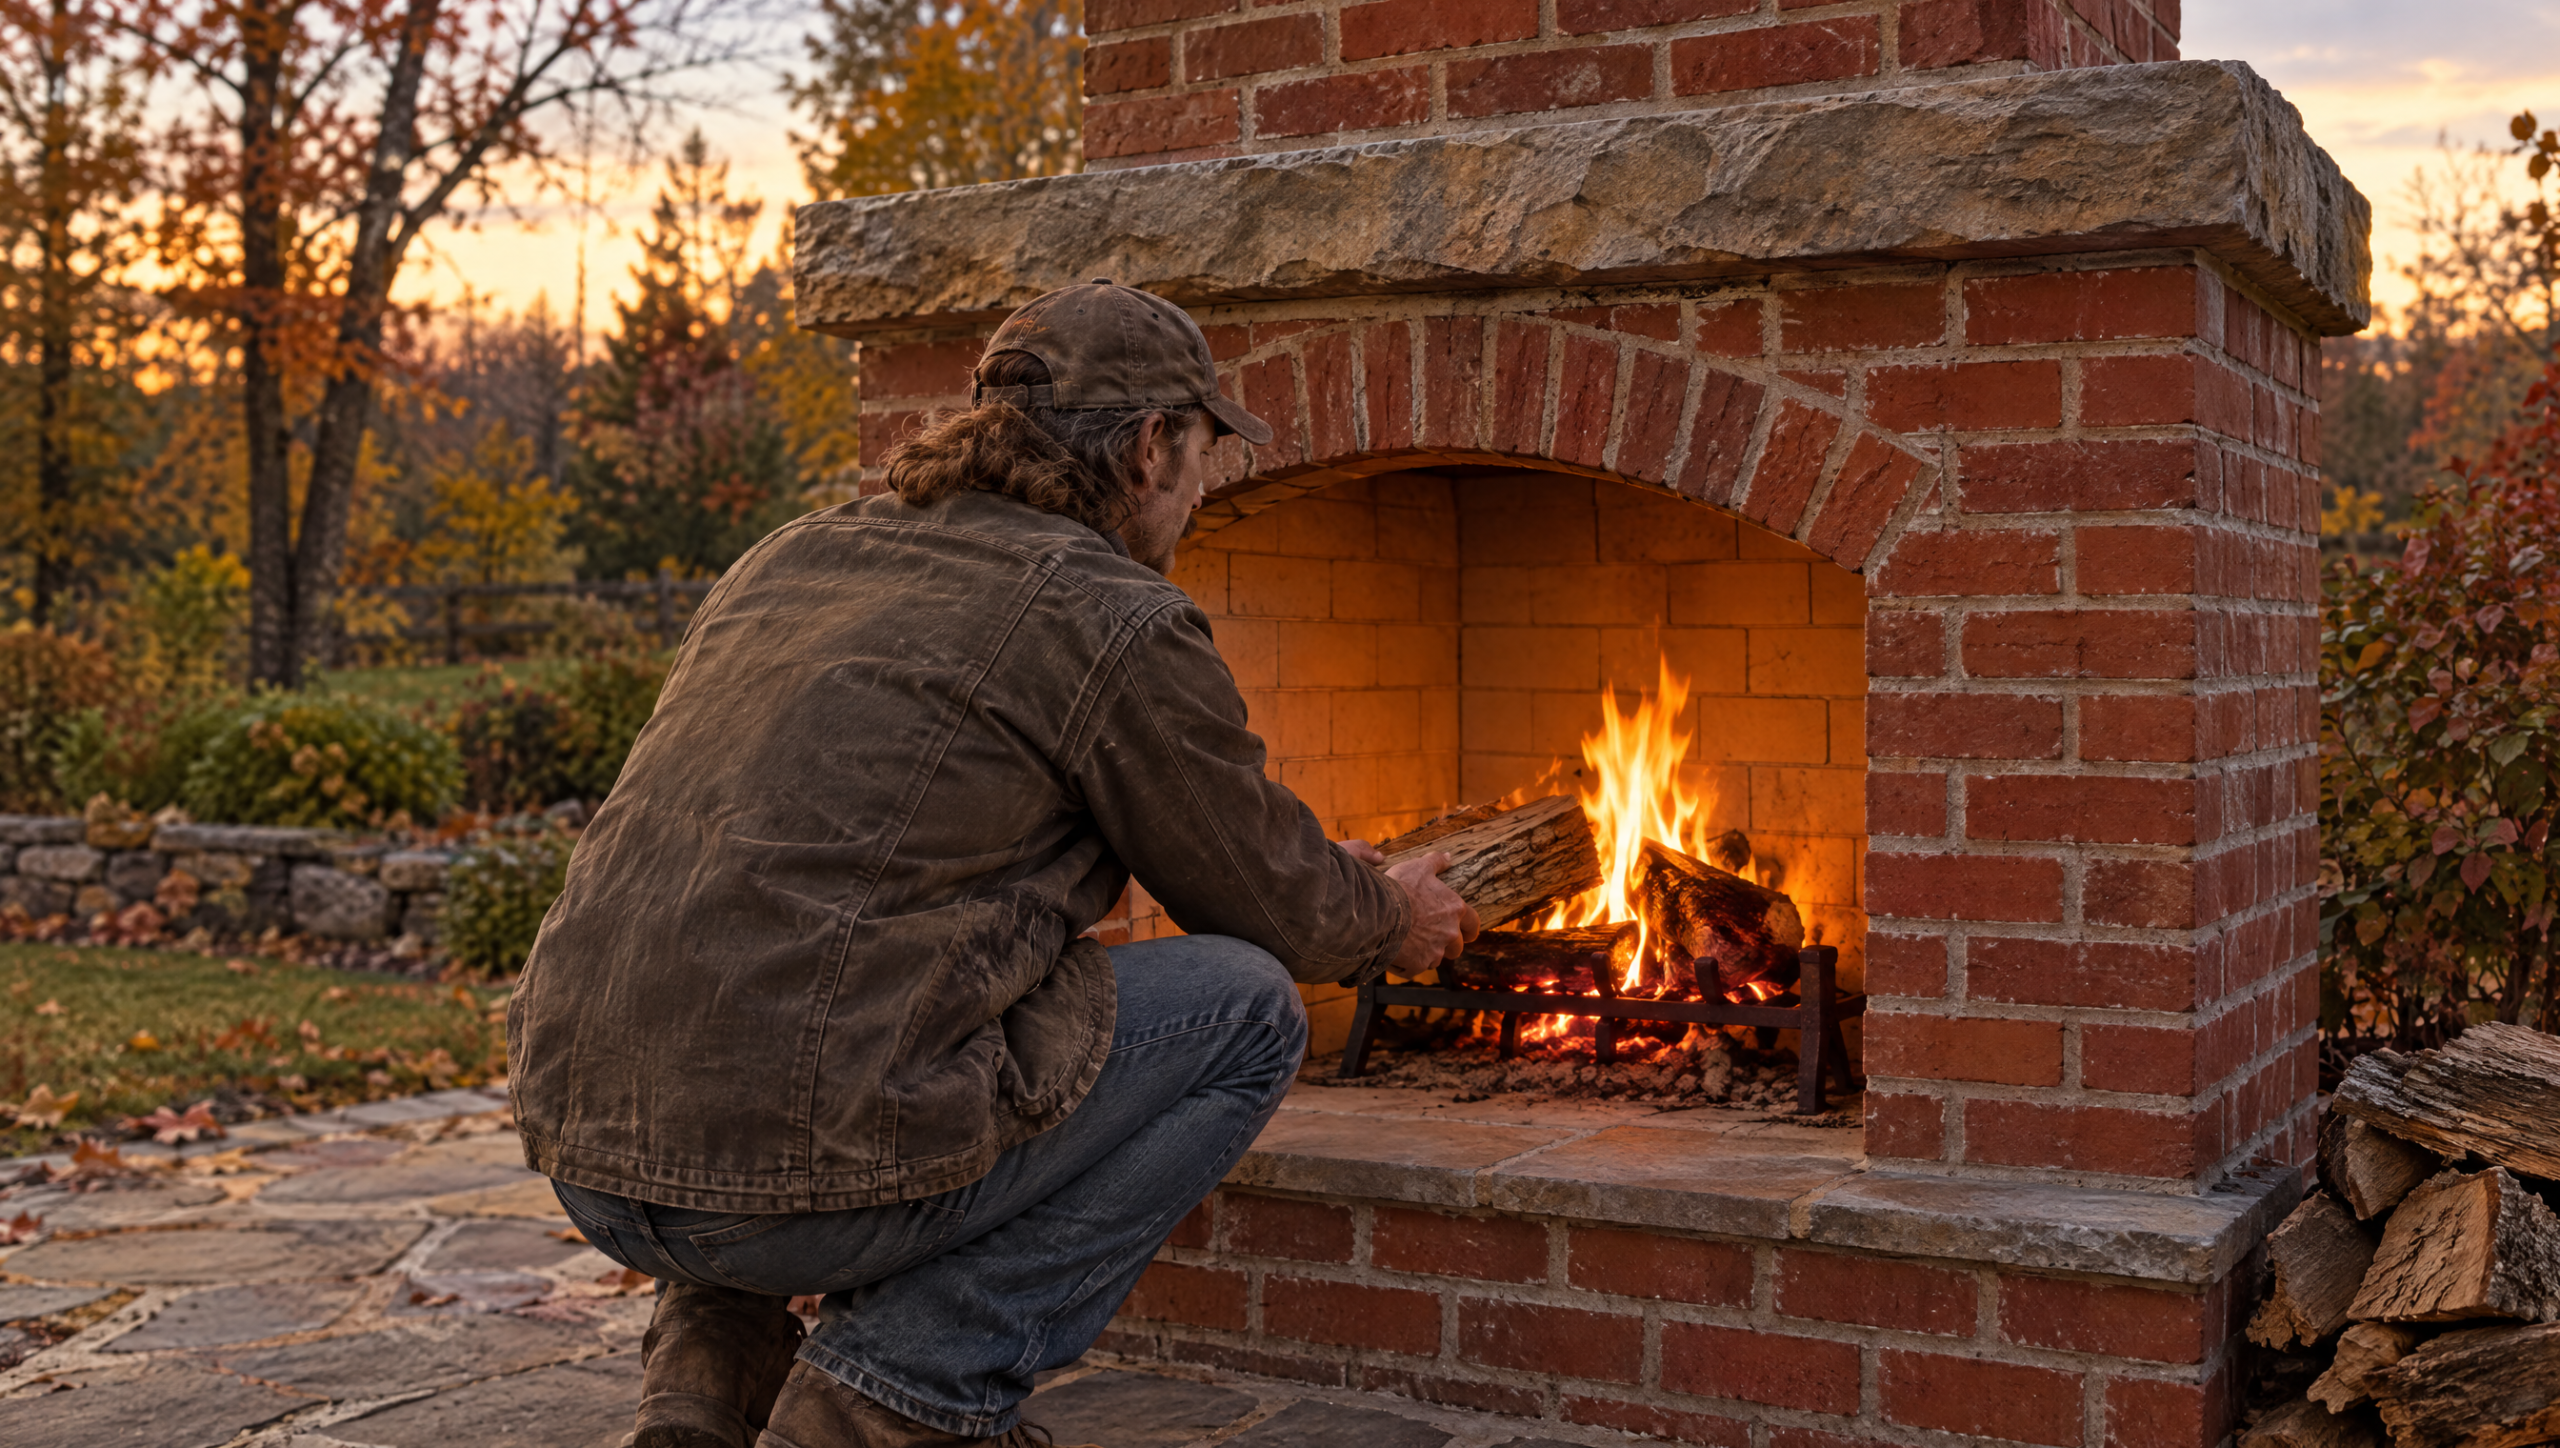

At a Glance: How to Build an Outdoor Fireplace
- Cost: How to build an outdoor fireplace on a budget comes down to brick count, so price 1,300 bricks locally first.
- Time: Several weekends of brick work, plus 1 to 30 days for the mortar to dry.
- Space: A 52 by 27 inch footprint on stone or concrete, with room to clear the house.
- Skill level: Intermediate. You need basic brick laying and patience with a level.
Want a fire spot your family will actually gather around? Here’s the short answer. You pour a footing below frost, lay brick walls, line the firebox with firebrick, set a clay flue and arch, then cure it with small fires. Learning how to build an outdoor fireplace is mostly patience and a level. It’s a few weekends of steady work, and every stage has a safe place to stop.
As an Amazon Associate, we earn from qualifying purchases.
Build It or Start Smaller?
Pick your path before you buy anything. If your family already sits outside most evenings and you’ve got a stone or concrete patio with room to spare, the brick build is worth it. If you’re not sure the fire will get used, a simple metal fire ring this season is a smart test. If you want ideas for the space around it, see this guide to turning a backyard into an outdoor oasis.
As an Amazon Associate, we earn from qualifying purchases.
Either way, a long tape measure earns its keep from day one. It lets you check the footprint and the distance to the house before you dig. This one reaches 25 feet, so measure in two runs if your town asks for more.

- Mr. Pen tape measure is an essential tool for anyone from homeowners and interior designers to professional handypersons, carpenters...
- This retractable tape measure is perfect for anyone who needs to take quick, accurate measurements. The casing is made of a top-grade...
- The tape measure has a length of 25' and features both metric and imperial measurements, including inch, cm, and mm, making it perfect...
Materials and Tools
These counts come from the original build, which stands about 46 inches to the mantel. Many of these tools are already on our list of homesteading tools worth owning.
Materials:
- 1,300 house bricks
- 50 firebricks
- 150 concrete blocks
- 75 bags of mortar mix
- Fireplace mortar or refractory mortar for the firebox joints
- Two 13 by 13 inch clay flue liners, 2 feet tall
- Angle iron and steel bar for lintels
- Concrete, sand and pea gravel for the footing
- Plywood and a bendable board for the arch form
- A fireplace grate
- A masonry cleaner your brick maker approves
Tools:
- Brick trowel, brick jointer and a spacing rule
- Tape measure, chalk and mason’s string
- A 4 foot level and a torpedo level
- Rubber mallet
- Stiff brush, bucket, sponge and a hose
- Grinder or tile saw for cutting brick
- Bar clamps
- Wheelbarrow and a mortar hoe
- Safety glasses, gloves and a dust mask
How to Build an Outdoor Fireplace, Step by Step
Each step below ends at a spot where you can safely stop for the day. Cover fresh brick with a tarp if rain is coming. Work one stage per weekend and the job stays calm.
Step 1: Build the Foundation
The finished fireplace is 27 inches deep by 52 inches wide and 46 inches tall up to the mantel. A footing keeps all that weight from shifting.
- Pick a spot on a stone or concrete patio, never on a wood deck. Wood under or near a firebox can catch.
- Call your fire department about distance from the house. One town’s code we read asks for 15 to 25 feet for outdoor fires. A 25 foot tape measure checks it in one pull. (paid link)
- Dig about 3 feet down, around 8 feet long by 2.5 feet wide. Your local building office can tell you your frost depth.
- Pour 4 inches of concrete, then set concrete blocks and fill with pea gravel and concrete.
- Set four 2 by 2 stakes at the corners and run mason’s string to mark your brick lines.
STOP POINT: Don’t lay brick until the footing is level corner to corner. Check it with the 4 foot level in both directions.
Step 2: Lay the Bricks for the Wall
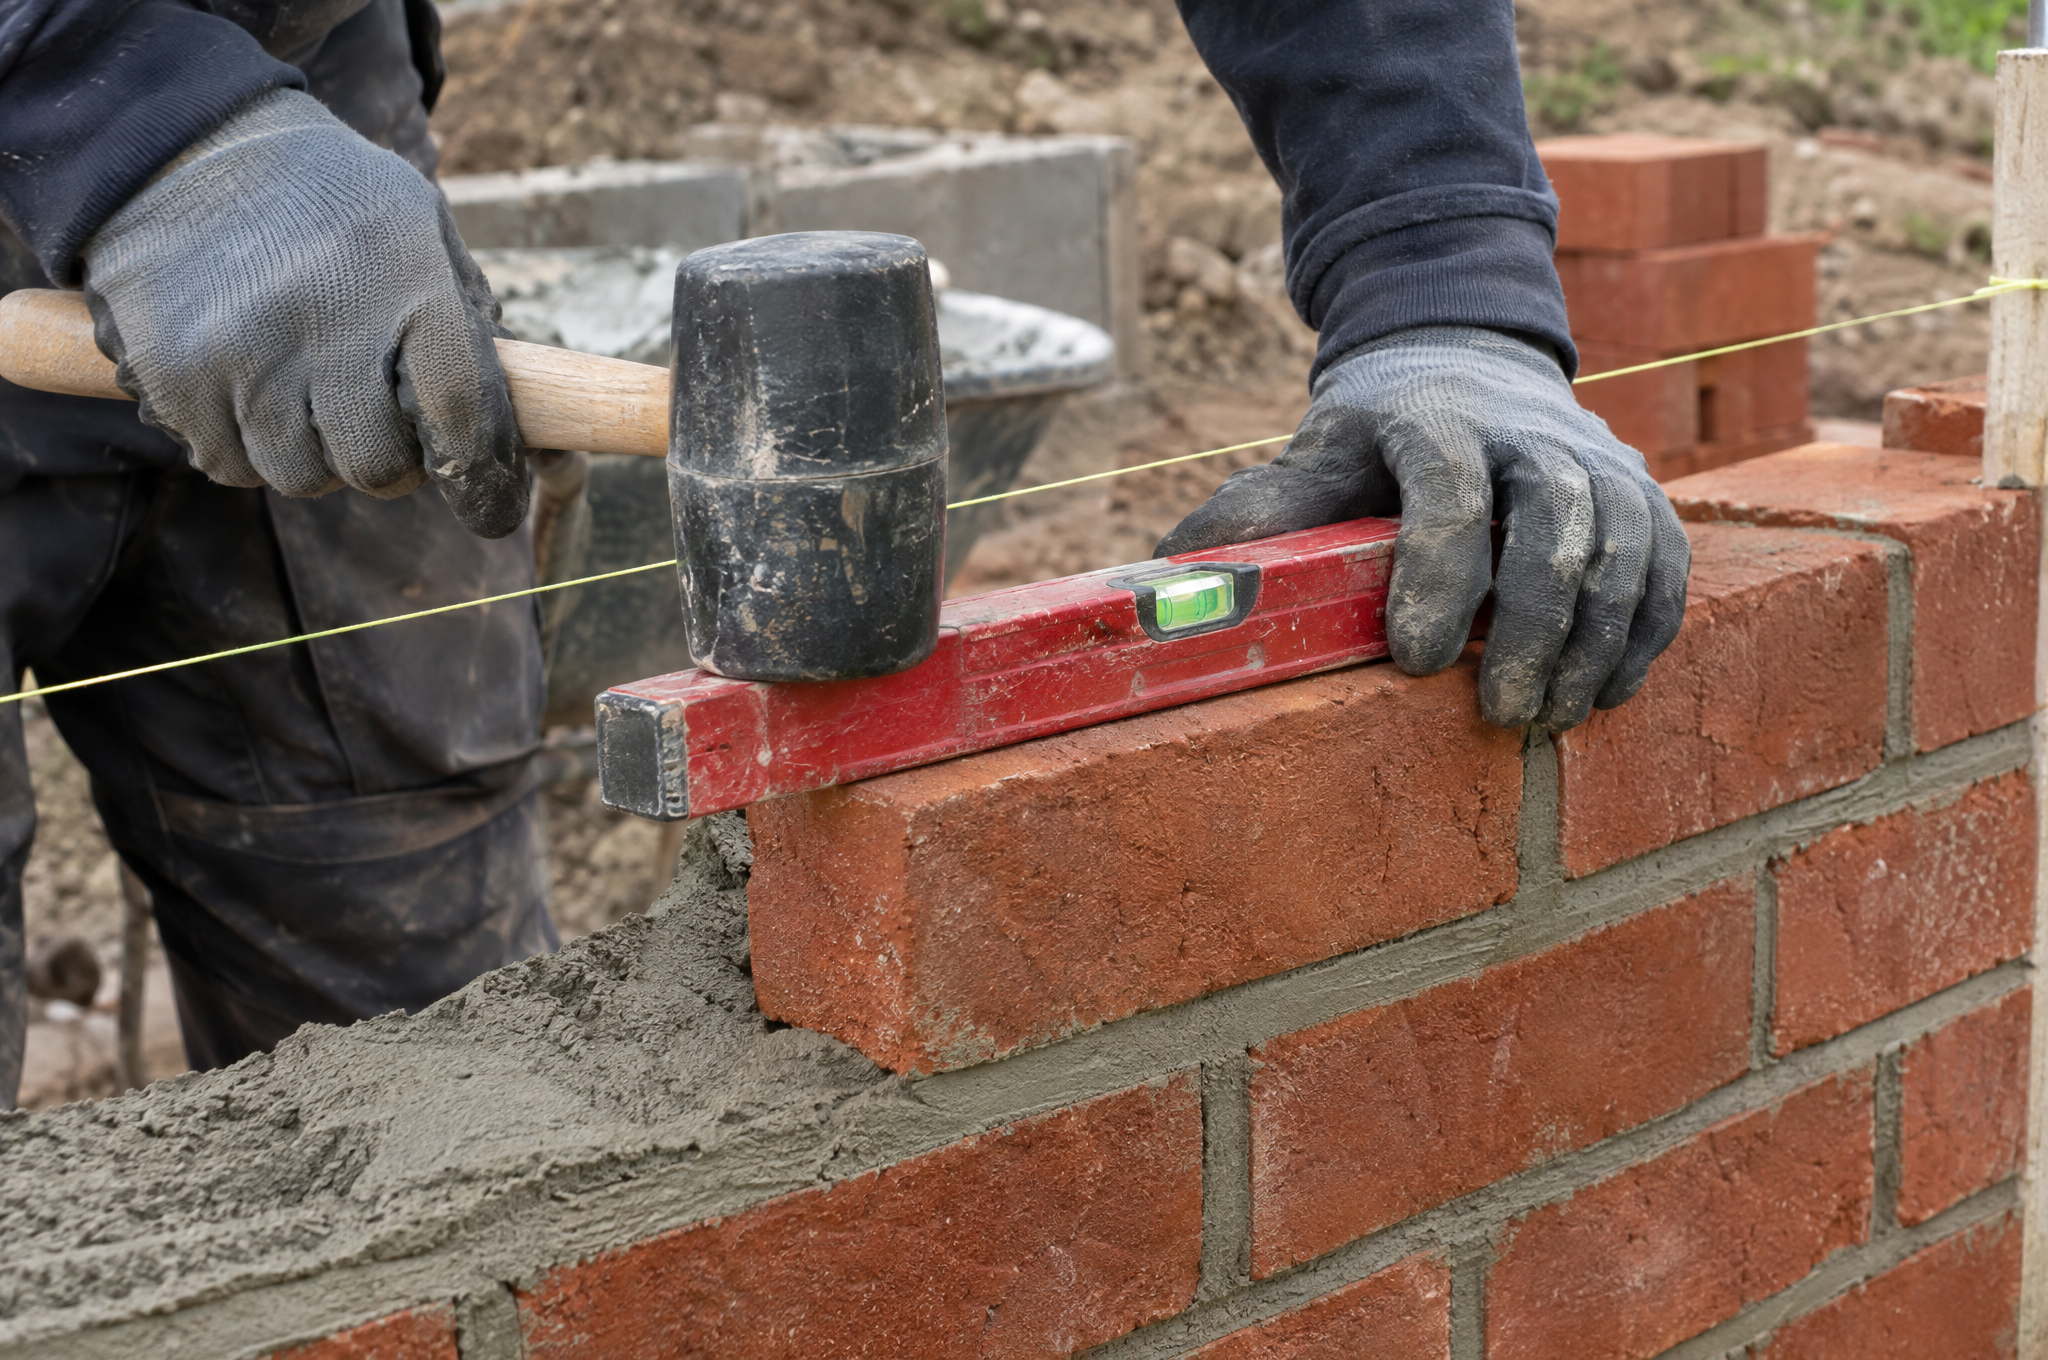
Mix mortar to a thick, peanut butter feel. Lay a few bricks, then check them before the mortar sets.
- Spread mortar on one corner of the block base and press a brick in, good face out.
- Tap it down with a rubber mallet until it meets the string.
- Work around the edges, leaving the front open.
- Scrape off mortar that squeezes out, then run the jointer along the joints.
CHECKPOINT: Every course should sit level and each corner plumb. If a corner leans, fix it now while the mortar is soft.
Step 3: Frame the Log Nook
The original plan put a gas grill in this side bay. Gas lines need a licensed fitter, so this version turns the bay into a dry spot for firewood. The framing is the same.
- After three courses on the front, measure 26 inches from the center of the side bay for the opening.
- Build a wood frame 35 inches tall, set it in place and lay brick around it.
- Lay angle iron across the top of the opening to carry the brick above it.
- Cut bricks in half and stand them on end across the top as a soldier course.
Step 4: Build the Firebox
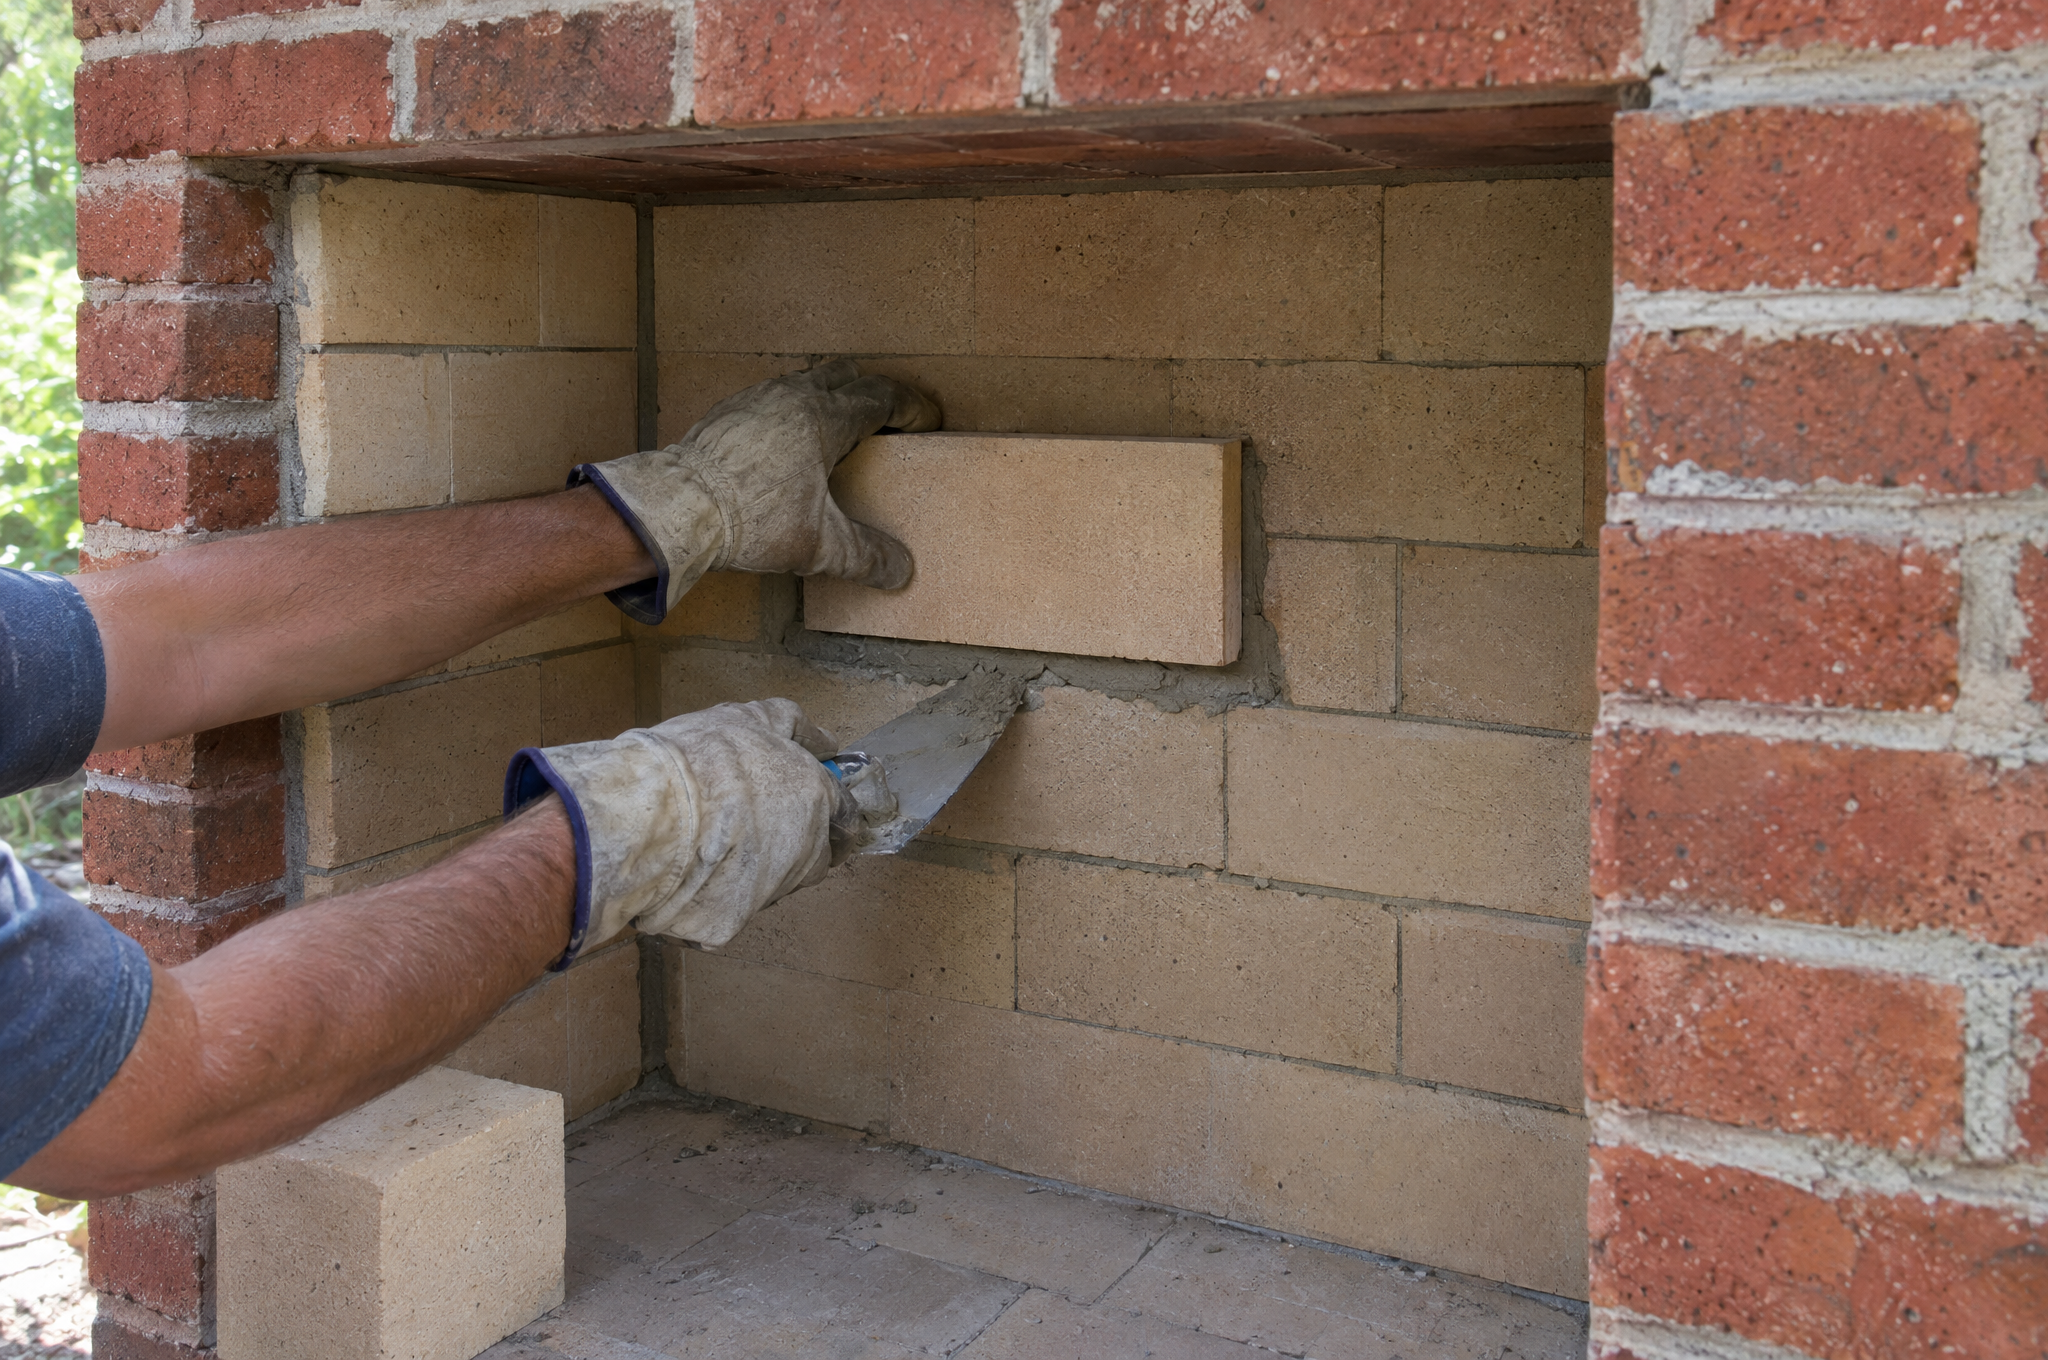
The firebox opening is 29 by 29 inches from the base to the bottom of the arch. The heat lives here, so it gets firebrick and fireplace mortar.
- Mix fireplace mortar or use a premixed one. Regular mortar breaks down under fire.
- Lay firebrick on the floor of the box, then up the side and back walls.
- Scrape extra mortar off the joints with the trowel edge as you go. Skip the wet sponge on fresh fireplace mortar.
- Keep going about 8 inches higher to form the smoke chamber.
STOP POINT: Firebrick only goes where flame touches. Wear cut resistant gloves and clear safety glasses when you cut it, since chips fly and the dust is bad to breathe. (paid link) Add a dust mask too. The gloves are thin and not heat rated, so take them off before you tend a fire.
Step 5: Install the Chimney Pipe
Set the flue before the arch so you can reach inside.
- Lay angle iron across the inside of the firebox.
- Set a 2 foot clay flue liner on the angle iron against the back wall.
- Fill the gaps on each side of the liner with firebrick.
- Seal the smoke chamber roof with fireplace mortar.
CHECKPOINT: Look up through the flue. You should see sky with no mortar bridging the opening.
Step 6: Build the Fireplace Entrance Arch
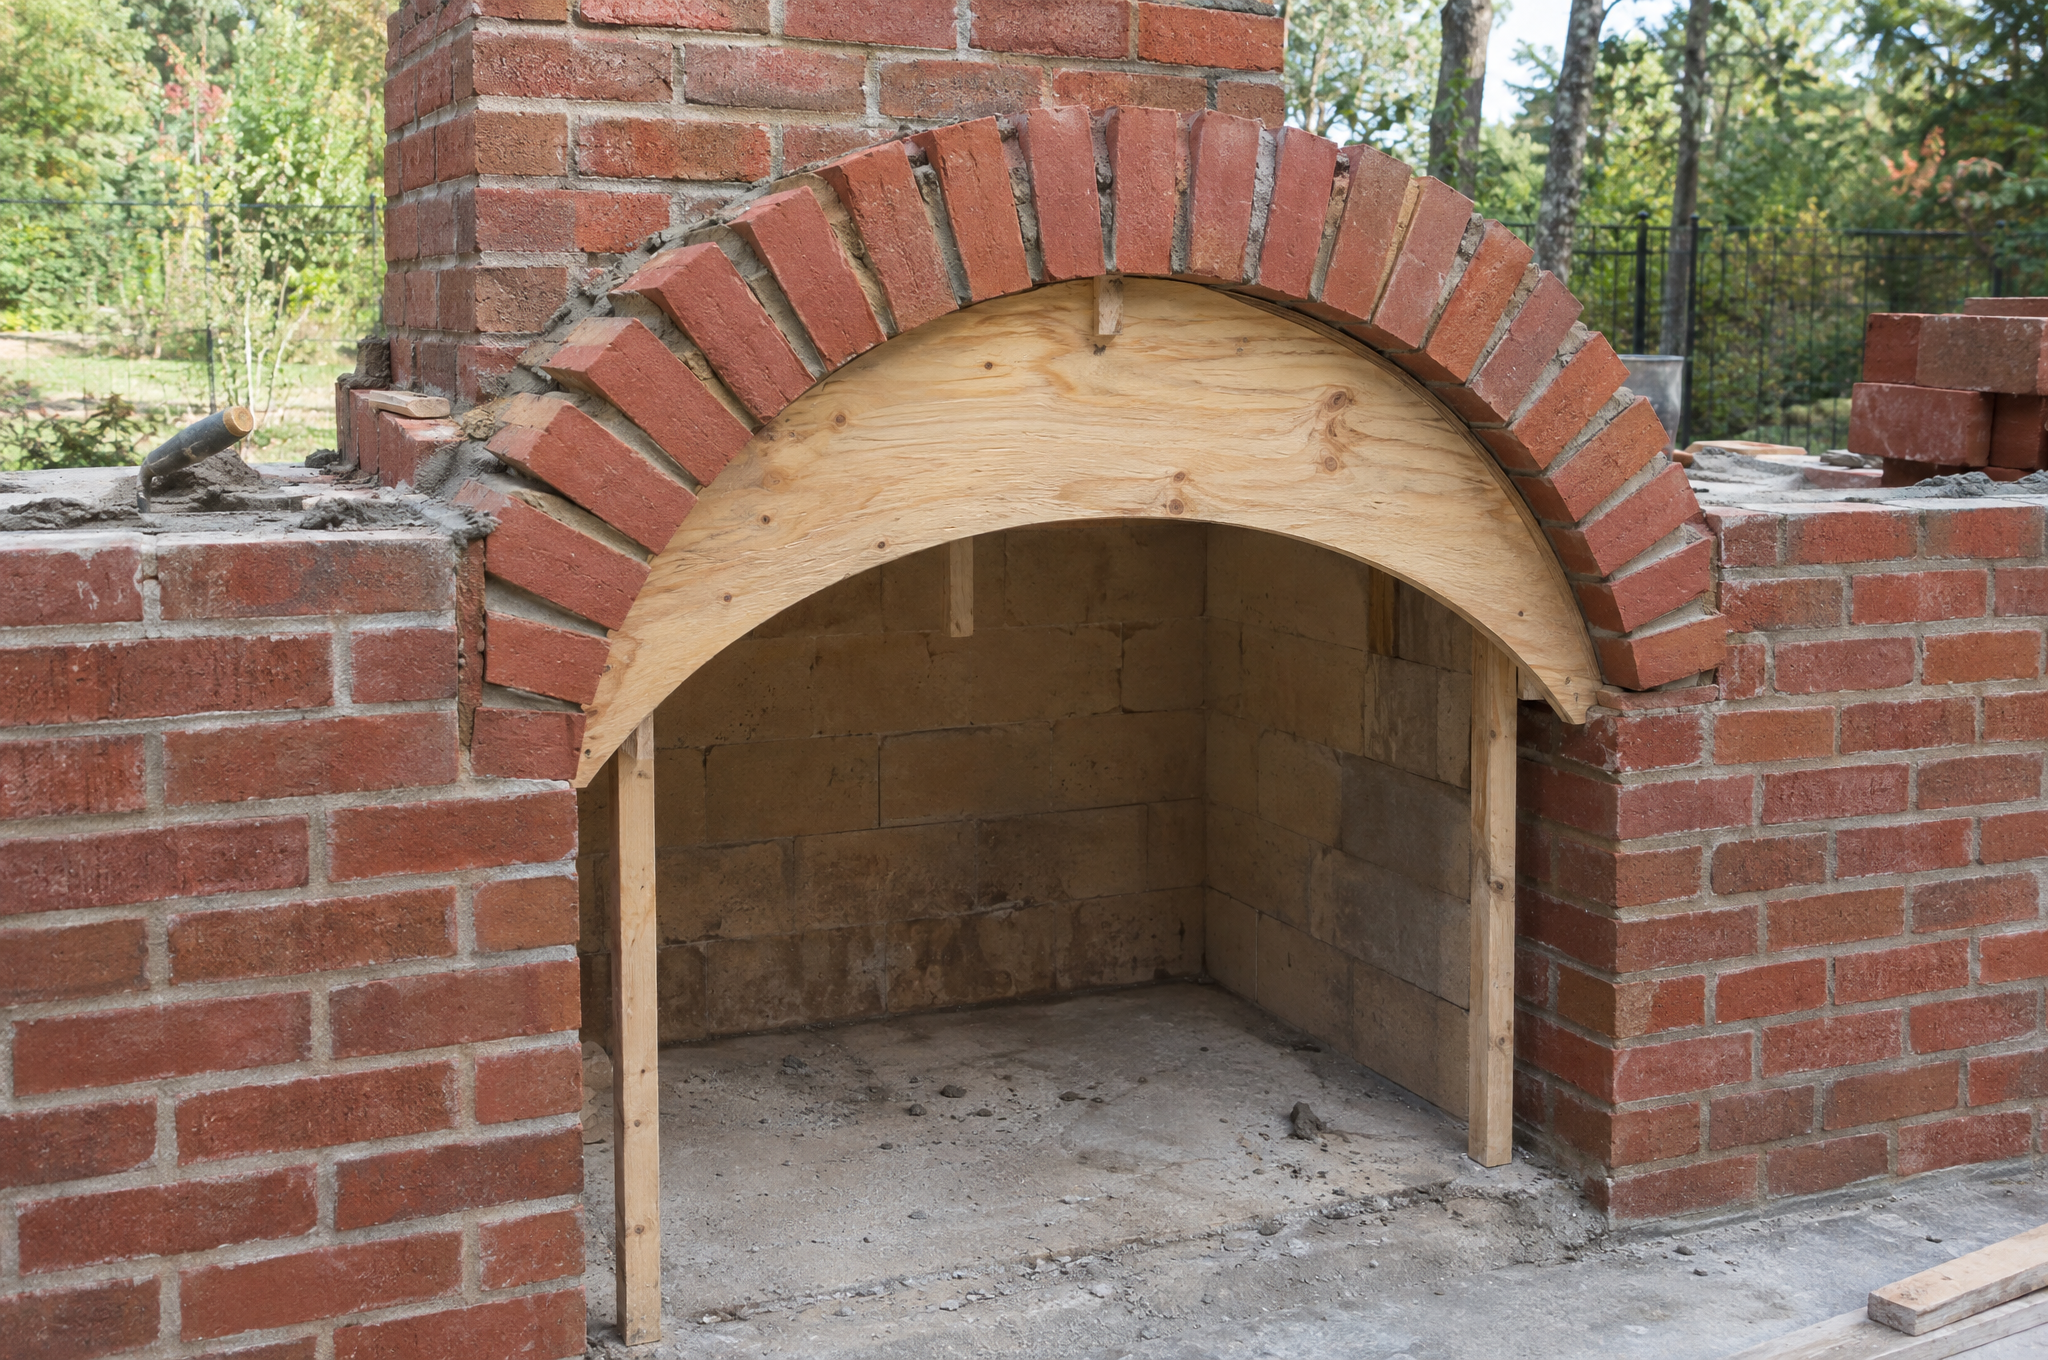
An arch looks classic and carries the weight over the opening.
- Trace a curve on plywood and cut two matching pieces for the form.
- Join them with spacers and bend a thin board over the top.
- Stand half bricks on end over the form.
- Let the arch set a few days before you pull the form out.
- Cut small wedge pieces with a tile saw to fill beside the arch.
- Add a lintel above to carry the mantel.
STOP POINT: Leave the form in until the mortar is hard. Pulling it early can drop the whole arch.
Step 7: Build the Chimney
Now the chimney goes up around the second flue liner.
- Set the second liner on the first and join them with fireplace mortar.
- Lay brick around the liner up to the top.
- Add about 10 courses above the mantel.
- Set the angled side bricks first, then shape the peaked top.
Step 8: Cure It With Small Fires
Fireplace mortar has to dry before it gets hot, or it can crack. One fireplace mortar maker gives a clear schedule in its data sheet. The same sheet says to keep water off fresh mortar until it’s been fired, so the big wash waits for Step 9.
- Let the mortar air dry until it’s no longer tacky to the touch. That’s 1 to 30 days depending on weather.
- Light the first fire within 30 days so the mortar bonds.
- Keep that first fire small for 1 to 4 hours until the mortar is dry.
- Then build a hotter fire and hold it 1 to 4 hours to finish the cure.
CHECKPOINT: After the curing fires, look for hairline cracks in the firebox joints. A few tiny ones are normal. Wide ones need patching before regular use.
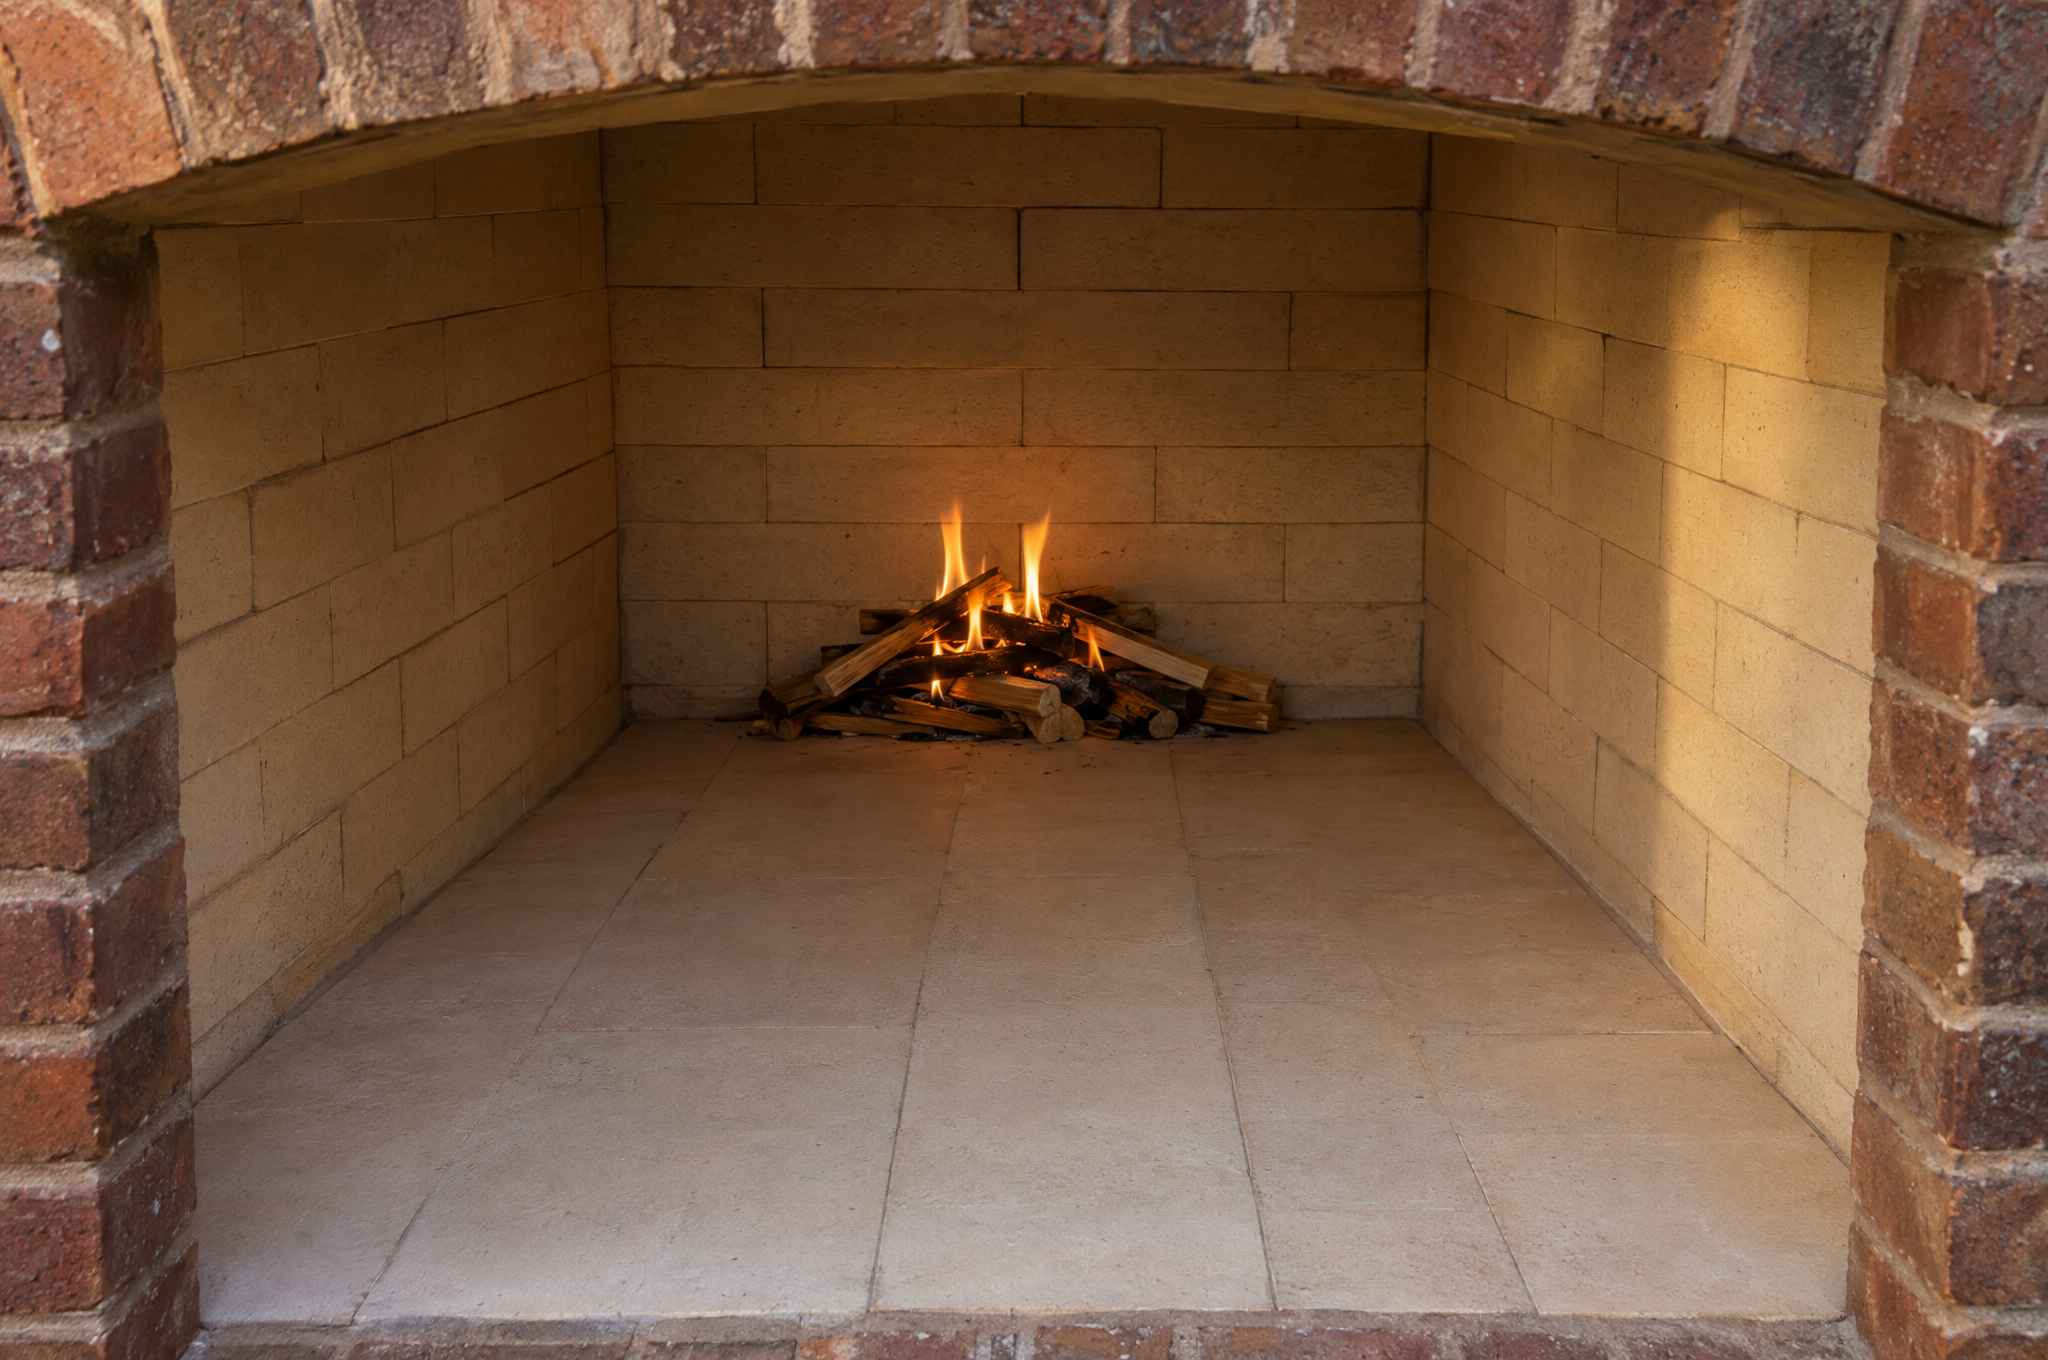
Step 9: Clean the Brick Face and Finish
Until the curing fires are done, keep it dry. Brush off mortar smears with a stiff dry brush at the end of each day, before they harden.
After the cure, soak the wall with plain water first. Wet brick soaks up less cleaner. Then use a masonry cleaner your brick maker approves and follow its label. Brick makers warn against unbuffered muriatic acid on new brick. It can stain the face and eat the mortar. Once it’s rinsed and dry, lay brick on the floor in front like tile, set a stone slab over the arch for the mantel and put the grate inside.
STOP POINT: Wear eye protection and gloves for any cleaner. Rinse well with the hose when you’re done.
Troubleshooting
Most problems show up in the first few fires. Here’s what to look for.
| What You See | Likely Cause | Fix |
|---|---|---|
| Smoke rolls out the front. | A cold flue or a fire too far forward. | Build the fire at the back and give it a few minutes to warm the flue. |
| Cracks in the first courses after winter. | The footing moved with frost. | Talk to a mason before you add more weight. |
| White haze on the brick. | Salts coming out as the mortar dries. | Dry brush it off and wait. It usually fades. |
| Firebox joints crumbling. | Regular mortar used where flame touches. | Rake those joints out and repoint with fireplace mortar. |
If a fix doesn’t hold, call a mason before the next fire.
Shortcuts to Avoid
Some shortcuts save an afternoon and cost a whole rebuild.
- Building on the edge of a wood deck. The heat travels and wood can catch.
- Skipping the footing. A heavy fireplace on loose soil will lean and crack.
- Using regular mortar in the firebox. It won’t hold up to repeated fires.
- Lighting a big fire the first night. Wet mortar turns to steam and cracks.
- Drilling a pipe into a homemade gas burner. Gas needs listed parts and a licensed fitter.
When to Call a Pro
Call a mason if your ground stays soggy or your town wants a permit and stamped plan. Call a licensed gas fitter for any gas line, burner or grill. Ask your fire department before the first fire if you’re unsure about distance or burn days.
Buy Once
- Best: a full set of mason’s tools with a good 4 foot level that stays true.
- Better: a sturdy trowel, jointer and torpedo level, borrowing the long level.
- Budget: a trowel and a tape measure, with the rest borrowed from a neighbor.
Your Fireplace, Ready for Its First Evening
Now you know how to build an outdoor fireplace one weekend at a time. Footing, walls, firebox, flue, arch and chimney each get their own weekend, and the small curing fires finish the job. Set a date and ask your family to help. The first real fire is the best part.
Up Next: DIY Shed | Budget Homesteading Project
FAQs
How long does it take to learn how to build an outdoor fireplace?
Most of the work is plain brick laying, and you get better with every course. Plan on several weekends for the whole build, one stage at a time. The curing fires add a few more evenings at the end. Don’t rush the footing or the firebox, since those are the parts that keep it standing and safe.
Do I need firebrick for the whole fireplace?
No. Firebrick only goes where flame touches, which is the floor and walls of the firebox. Regular house brick builds the outer walls, the arch face and the chimney. That keeps the cost down. Use fireplace mortar or refractory mortar for the firebrick joints, because regular mortar breaks down under repeated fires.
Should I try a fire ring before I learn how to build an outdoor fireplace?
If you’re not sure the family will use it, yes. A simple metal ring gives you real evenings outside for very little work. If you’re out there most weeks after a season, the brick build makes sense. That way the big project goes where you already gather.
Why can’t I light a big fire right away?
Fresh fireplace mortar still holds water. A hot fire turns that water to steam inside the joints, and the steam cracks them. One mortar maker says to let it air dry until it isn’t tacky, keep the first fire small until it’s dry, then hold a hotter fire for 1 to 4 hours.
How far from the house should an outdoor fireplace be?
It depends on your town, so call the fire department before you dig. One town’s code asks for 15 to 25 feet for outdoor fires, depending on size. Never build on a wood deck. Set it on its own footing on stone or concrete, with nothing that can burn close by.
Brick Build or Fire Ring This Fall?
A brick fireplace takes weekends of work and gives you a chimney that pulls smoke up and away. A metal fire ring is ready tonight and moves wherever you want it. One asks for time up front. The other asks for nothing but a safe spot.
Tell us which you’d pick and why below.