Are you considering building a duck pond in your yard? If you're raising ducks and need a place for them to frolic in, you should definitely consider making one! Here’s how to build a simple duck pond in your homestead.
RELATED: How To Raise Ducks For Eggs | 10 Tips & Tricks
Step-by-Step Guide on How to Build a Duck Pond in Your Homestead
Step 1: Plan the Project Out

The first thing you need to do is to map out the project. You need to take into account how much time and money you actually set aside for your future duck pond.
- Time: It would take two to three people around 70+ hours of manual labor to dig and build a 1,000-gallon pond in your yard.
- Money: It would be best if you have at least $1,000 disposable funds to invest in the project.
- Effort: Building a DIY duck pond will definitely require brute strength. So if you are not capable of engaging in strenuous activities, make sure to hire someone who can work in your place.
Note: Don’t skip this step! A lot of homesteaders make the mistake of blindly jumping into the project. This often leads to unforeseen complications, which may discourage one and cause him/her to consider dropping the project altogether.
Step 2: Find a Good Area for Your Pond
Find a good spot for your duck pond then cover the area surrounding it with mulch and wood chips. This is to prevent the ducks from making a muddy mess once the pond is finished.
Step 3: Sketch the Pond Dimensions and Specifications
Now it’s to figure out the construction sequence of your pond. You’ll have to decide on what filter system to use — we suggest bubblers or waterfalls — as well as how large and deep the actual pond will be.
RELATED: 36 Chicken Coop Designs And Ideas [2nd Edition]
Step 4: Outline the Pond
Once you’re done sketching dimensions of the pond, create the outline using some string. Make sure to follow the specifications on your draft.
Afterward, you can start shoveling. You need to dig two levels or tiers so the ducks will be able to easily get in and out of the water.
Step 5: Clean and Level the Area
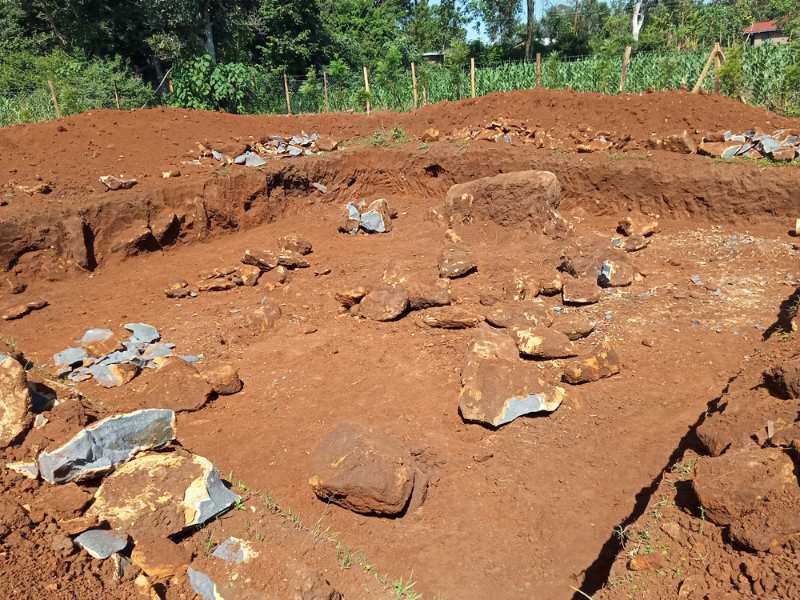
Clear the area of all dirt. By now, you should have already accumulated multiple piles of it considering you dug two tiers.
Then, level the hole. You can use twines and string levels to gauge the top lip is balanced and angled properly. This is done to prevent your ducks from getting into accidents.
If one lip is too high, we suggest using clay to level out the surface.
Step 6: Lay Out the Underlayment
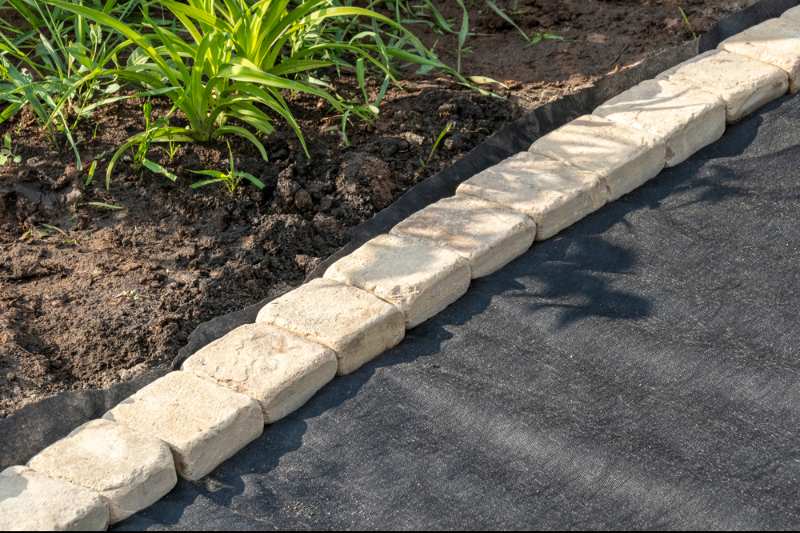
Grab the underlayment and lay it out properly inside the hole. Make sure the area is already clear of dirt. You wouldn't want any lumps of soil getting stuck underneath the underlayment, would you?
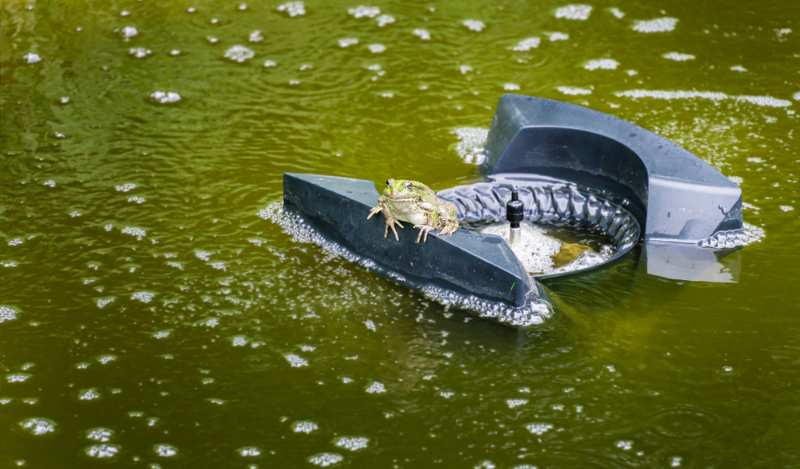
Step 7: Install the Biofilter System
After placing the underlayment, it’s time to put up the walls. Install a set of rocks on each level of the pond.
However, make sure to leave a small area free. This is where we’ll be placing the biofilter pond — it won’t function properly if it’s covered.
Then, take out your biofilter system and install it according to the brand’s instructions. Test the waterfalls or bubblers once before moving forward.
Step 8: Decorate Accordingly
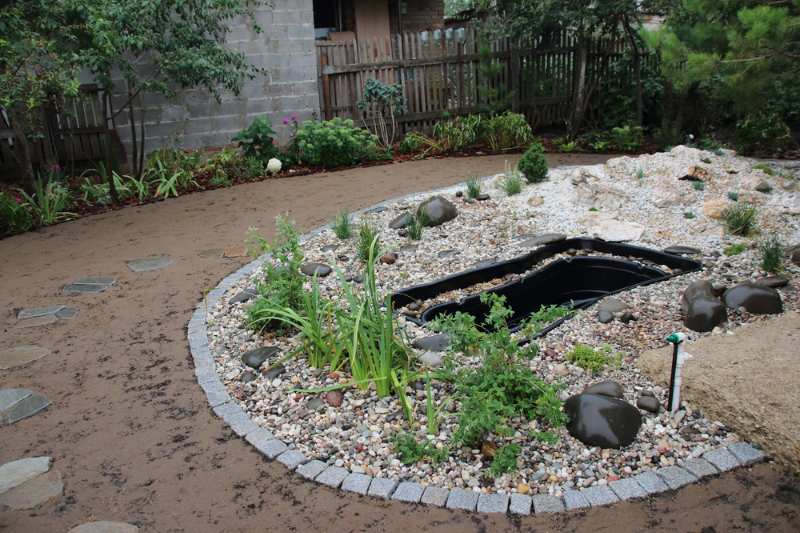
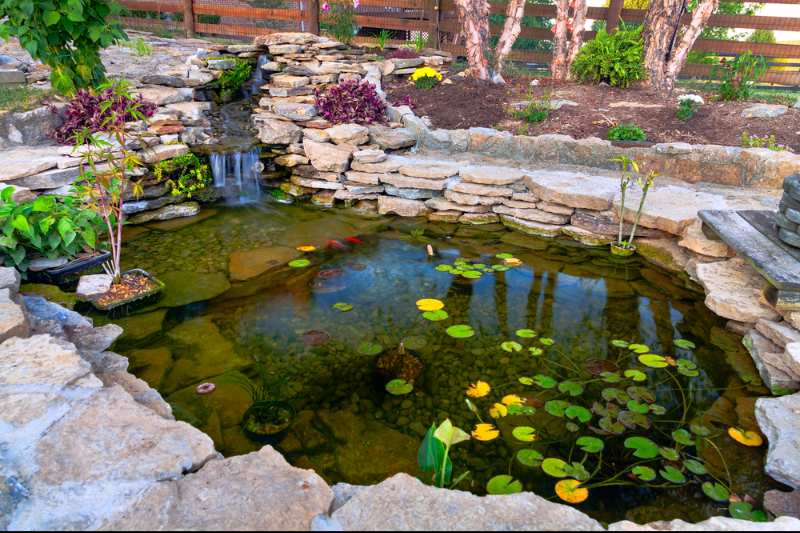
After setting up the water filtration system, you should be good to fill the pond with water now. Feel free to fill it with all kinds of plants and bugs for your ducks to snack on.
Check out this video by Finatic where they share with us how to build a cheap, easy duck pond in your own yard:
Building a duck pond is in no way easy. However, the benefits it provides for your ducks make all the time, money, and effort you put into the project worth it.
In fact, you may be able to see some of the results in just a few weeks. Daily water exercises will allow your poultry livestock to grow much bigger, healthier, and stronger.
How did your duck pond turn out? Share your experience with us in the comments section below!
Fellow homesteaders, do you want to help others learn from your journey by becoming one of our original contributors? Write for us!
UP NEXT:
Leave a Reply