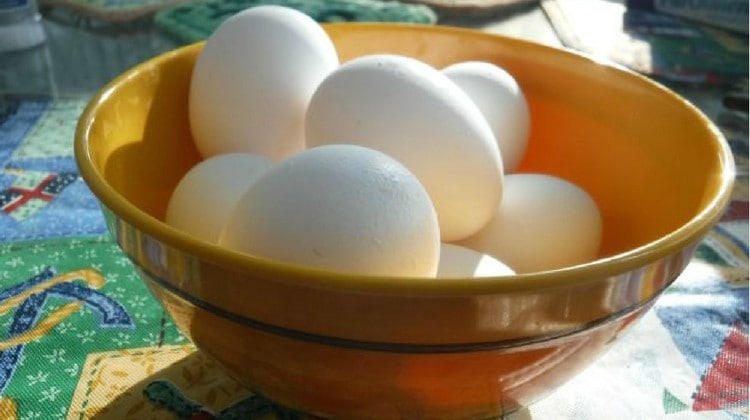

At some point, it happens to anyone who has lots of chickens…..you have lots of eggs in the fridge because the girls are going like gangbusters and you can’t seem to use those eggs fast enough.
Dehydrating 101 Series: Finding More Uses for Eggs
Sure, you can give some away, do a ton of baking that you may not really want to do, or just hope that they will hold in the fridge for a while. You could even freeze some or come up with different egg recipes. But, did you ever think about dehydrating your egg overload?
Supplies:
- dehydrator or oven
- parchment paper or fruit leather tray inserts
- eggs
Using A Dehydrator

If you have a dehydrator, it is quite easy to do. (You could probably also do the same in a low, slow oven, but I have issues with starting a big oven for hours over end when a dehydrator will be more efficient and won’t put your oven out of commission.) It is easiest if you have fruit leather tray inserts to use for this project. I do have these for one of my dehydrators (I have 4 machines- all different types), but because many readers may not, I am showing the use of parchment paper instead.
Using Parchment Paper
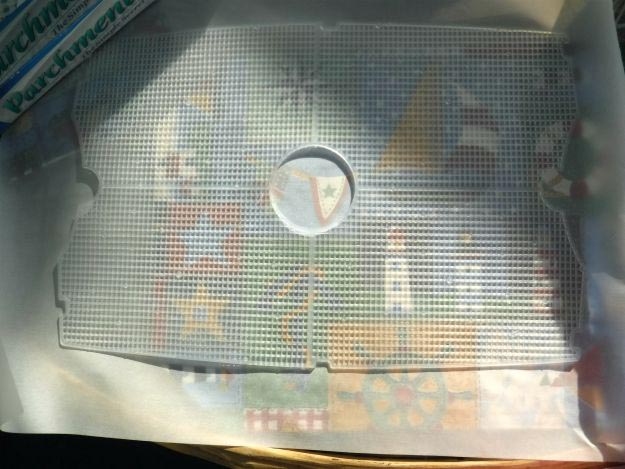
When using parchment paper, be sure that you cut out the area of your heat source, so that the paper does not cover and block it. This is very important. Also, make sure that you allow enough extra paper on the edges of your tray(s) so that the egg doesn’t seep under the paper and drip into the bottom of the dehydrator.
Step 1: Break Fresh Eggs
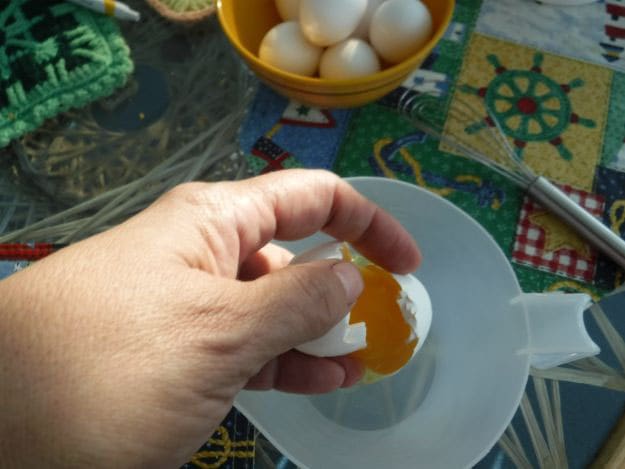
Break fresh eggs into a bowl. The number will depend on the size of your eggs and what your tray can hold. A good starting place is 4-6.
Step 2: Scramble Well
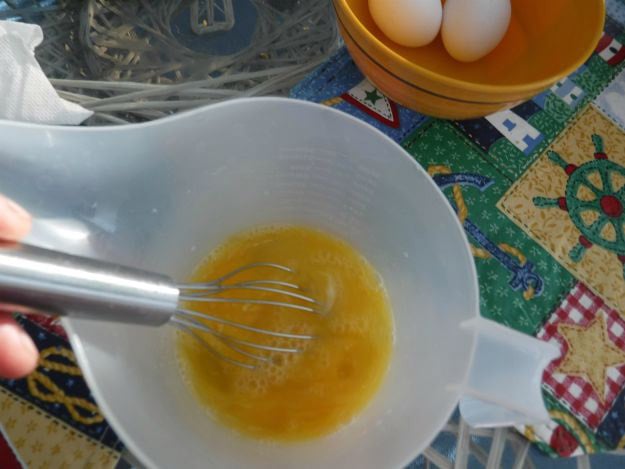
Scramble WELL, making sure the eggs are thoroughly mixed. (If you do not mix well, the dried product may come out a bit greasy.) Do not add anything to the eggs if your goal is pure egg powder.
Step 3: Pour Egg Mixture

Carefully pour the mixture onto the parchment (or fruit leather insert) covered tray. Set your temperature if your machine has that capability (I have been using 129 degrees), cover and let it go.
Step 4: Remove When Dry And Crumbly
Once the egg is thoroughly dry and crumbly, it is ready to remove from the tray. Crumble into small pieces or grind into a powder. Store in an airtight container in a cool, dry place. To reconstitute: 1 part dry to 3 parts water = 1 egg.
Note that if you do find that your egg is a bit greasy, they are still salvageable. Blot the egg “sheets” with a paper towel, and let sit in a dust-free area to air dry. Repeat blotting if necessary. It can take a day to a week for the oils to dry.
OurHalfAcreHomestead shows us a video on dehydrating raw eggs:
Powdered eggs are great to have on hand, especially for an emergency. And it gives you a way to save those excess eggs that you fear may go to waste! Oh, and those egg shells…..let them dry, then put them back into the carton and use each half as a mini seed planter. When the seedling appears, you will be able to plant shell and all right into the garden. Or crush the shells and add to the garden. Or grind finely and add to your chicken’s grit. As long as the shells are finely ground, the birds will not get into the habit of going after their eggs because they won’t realize that there is egg shell in the mix!Have you tried making your own pickled cactus?
Let us know your kitchen secrets in the comments below! Aside from dehydrating eggs, do you know other usages for eggs?
Check out these 14 genius hacks that will change the way you normally eat eggs!
![]()
