
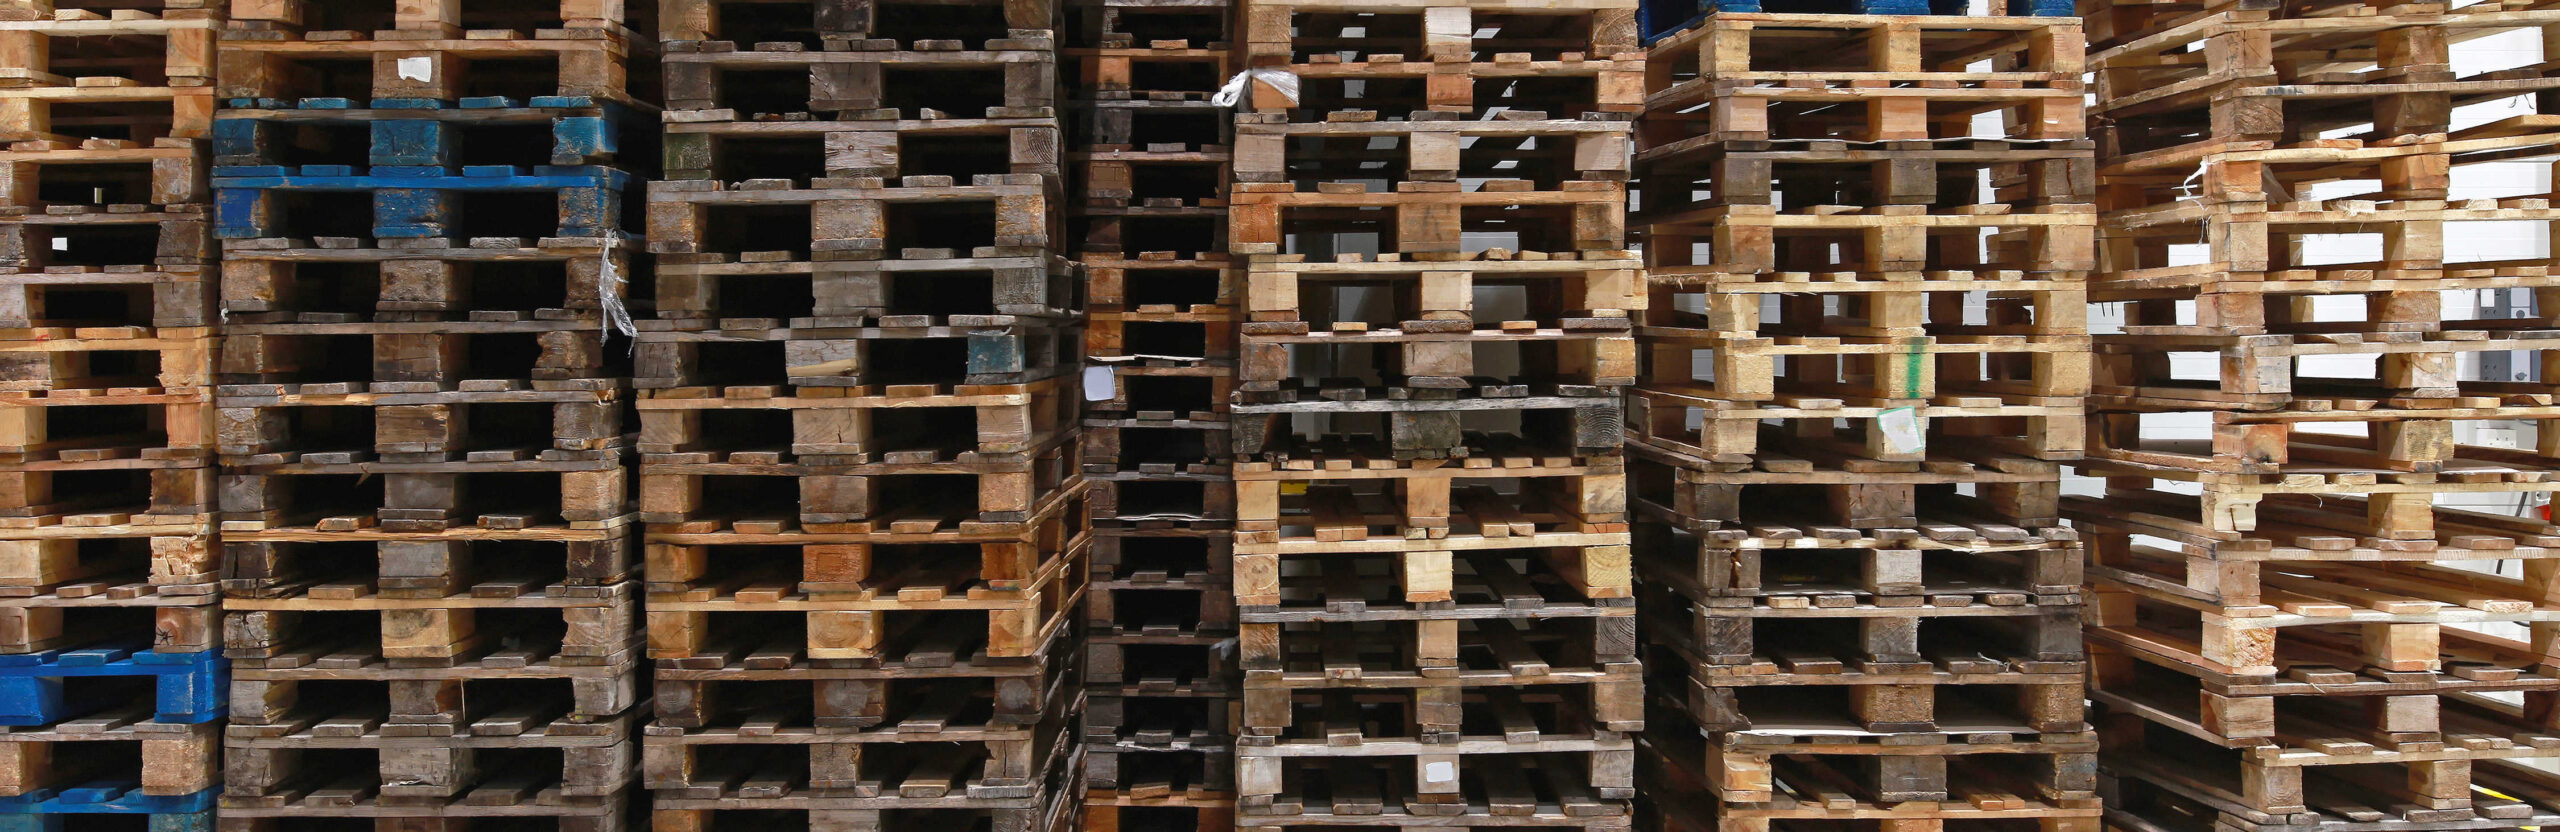

We love seeing things people make out of repurposed pallet wood. We decided on a workbench as our first project, because it is perfect for DIY purposes. This would also make a great pallet worktable for crafts or allow you cheap extra table space wherever you need it. We look forward to building more pallet furniture, adding stains and finishes, doing a variety of other things with pallets.
Watch this video to see how we built our pallet workbench:
If you do not know how to deconstruct a pallet, watch our video that shows you how:
Step by step instructions for a pallet workbench:
Materials needed to build a pallet workbench:
- Safety glasses
- ear plugs
- work gloves
- pencil
- measuring tape
- screws (3″ and 1 1/4″)
- drill
- circular saw
- 2×4’s
- de-constructed pallets (see our how to article and video to learn more)

Step 1: Download and print the plans
Download the .pdf plans and instructions for a Pallet Workbench

Step 2: Mark and measure dimensions
Decide on the dimensions of your table.

Step 3: Cut three(3) 2×4’s to table length
Cut 3 of the long 2×4’s from your deconstructed pallet or your extra 2×4’s to the length of your table.

Step 4: Lay out 2x4s and attach pallet panels
Align the 2×4’s into three rows separated equal distance to the width of your table.

Begin attaching the thin parts (panels) of the pallet to the 2×4’s. Make sure that the first one you place is flush with the outer 2×4’s and and middle 2×4 is centered.

Continue step four until your table top is completed.


Step 5: Flip the table over
Place table top upside down.

Step 6: Measure and cut legs
Measure your legs out and cut 4 with the remaining 2×4’s.

Step 7: Attach legs
Using your drill, attach legs to the table top of your workbench


Step 8: Cut gussets
Cut 8 gussets to stabilize the legs.

Step 9: Attach gussets
Attach gussets to legs and table top.
Step 10: Enjoy your pallet workbench.
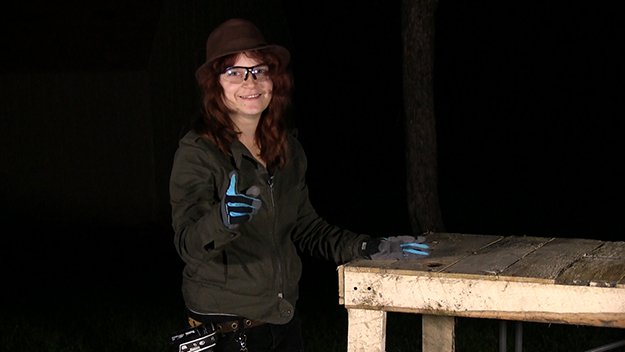
You’ll be shocked by how much good you’ll get out of this simple piece of furniture. Isn’t that what self reliance and homesteading is all about? Being innovative and skilled enough to take what others would throw out and create something new and useful with it! Thanks for checking out this tutorial! We hope it’s as useful for you as it has been for us.
